Welcome to the FeatBit development documentation! This guide will walk you through setting up your development environment, connecting to our code base, and submitting code to the project.
FeatBit consists of multiple services, to learn more about the architecture, please read our documentation.
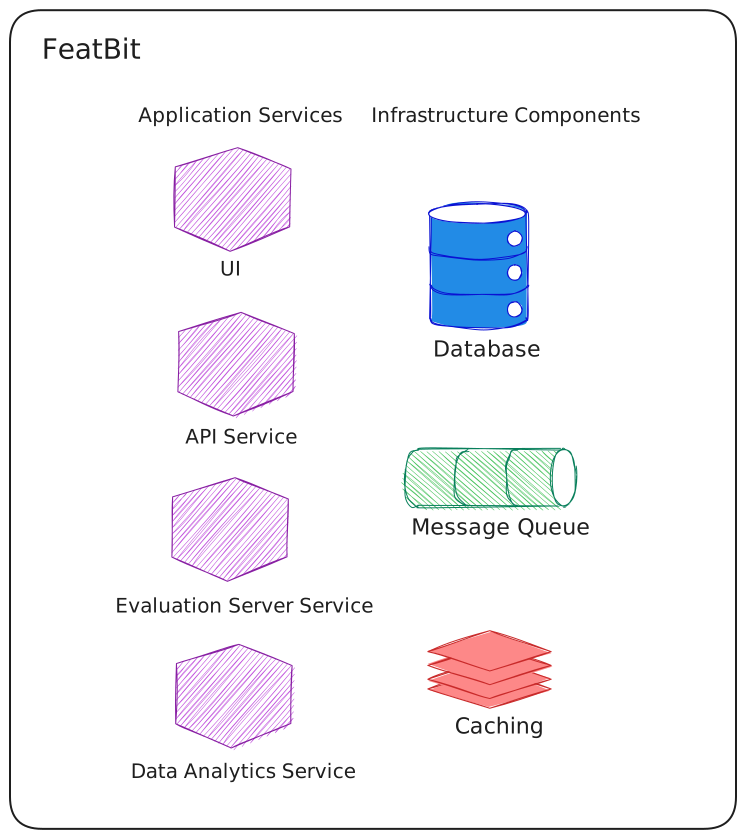
To get started, we need to clone FeatBit's repository first.
git clone https://github.com/featbit/featbitMost of the contribution work will focus on UI and API, we just need to set up their dependencies via docker compose and launch these two services from the code.
You can setup infrastructure dependencies using the /docker/composes/docker-compose-infra.yml file, for example
cd featbit

# start postgresql and redis
docker compose --project-directory . -f ./docker/composes/docker-compose-infra.yml up -d redis postgresqlThe API project is built with .NET 10, make sure you have the latest .NET 10.0 SDK installed before you start.
Navigate to modules/back-end/src/Api folder and run dotnet run, then the swagger should be available
at http://localhost:5000/swagger.
The UI is built with Angular and NG-ZORRO, please refer to their docs for more details.
Navigate to modules/front-end folder and do the following commands:
npm install
npm run start
Then UI should be available at http://localhost:4200.
The above process would launch the UI in English language.
As ng serve only supports one single locale, during development, the locale-switcher component doesn't work. If you want to check a different language, run the app with one of the following command
npm run start // English, available at localhost:4200
npm run start:zh // Chinese, available at localhost:4201
Instead of serving the UI directly at the domain root, you may need to serve it under a specific path, for example http://localhost:4200/abc/def/.
For local development, use the start:base-href command:
npm run start:base-hrefThis command is defined in package.json as:
"start:base-href": "ng serve --serve-path /abc/def/ --configuration=development --port=4200"Important: You must also update the <base href> tag in index.html:
<!-- Change from: -->
<base href="/">

<!-- To: -->
<base href="/abc/def/">
You can replace /abc/def/ with your own path in both the npm script and the index.html file.
When running the UI in a Docker container, set the BASE_HREF environment variable in docker-compose.yml:
services:
  ui:
    image: featbit/ui:latest
    environment:
      - BASE_HREF=/abc/def/
    ports:
      - "80:80"
The ports is important if you run this in your local machine. The Docker entrypoint script will automatically configure nginx and update all locale-specific index.html files with the correct base href.
FeatBit should be available to everyone everywhere, and we don't want language to be a barrier. So for this reason we have implemented internationalization features into our codebase.
FeatBit UI uses official @angular/localize package to implement the i18n, please read the official doc for how to use it. The language resource files are under * modules/front-end/src/locale* folder, with following format messages.xx.xlf, xx is the language code.
Currently only English and Chinese are available, we would be very grateful to have contributors for other languages too.
If you put a text in the UI, at the end of the developing work, you need to put its translations into the corresponding resource file. This work could be very tedious, we created a library to facilitate the job, you need to run the command
npm run i18nEnglish would be generated automatically in messages.xlf, you just need to put the translations into message.xx.xlf. A
small trick is to search this text <target></target> in the file and put the translation between target tag.