Demo Video
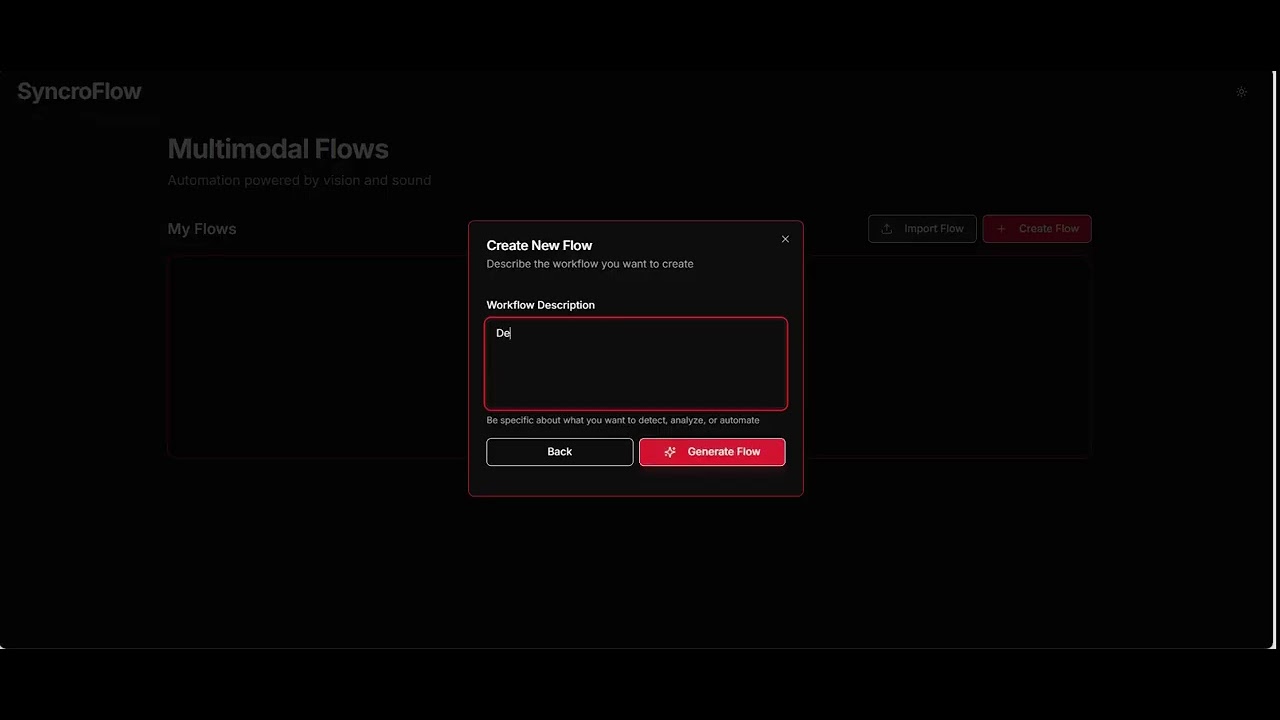
A visual logic engine for real-time video intelligence that transforms complex AI video pipelines into simple, drag-and-drop nodes using ultra-low latency WebRTC streaming.
 SyncroFlow enables users to build custom computer vision and AI monitoring tools in seconds without requiring weeks of development. It combines drag-and-drop visual programming with AI-powered video analysis capabilities.
- Drag-and-Drop Editor: React Flow-based visual interface for intuitive AI pipeline creation
- Ultra-Low Latency Video: Sub-500ms WebRTC streaming via Ant Media Server integration
- Temporal AI Monitoring: Rolling frame buffers for action understanding over time
- Multi-Source Inputs: Support for webcams, MP4 files, screen shares, and RTMP streams
- No-Code Automation: Trigger real-world events based on AI analysis conditions
Frontend: React 18, Vite, React Flow, Tailwind CSS Backend API: Node.js / Express AI/Vision Backend: Python, FastAPI, YOLOv8 Video Infrastructure: Ant Media Server, WebRTC, RTMP AI Models: Gemini Pro Vision / OpenRouter API
- Node.js v22.13+
- Python 3.11+
- Ant Media Server Community Edition (Optional)
-
Clone the Repository
git clone https://github.com/FelixMatrixar/SyncroFlow.git cd SyncroFlow -
Environment Variables Create a .env file in the root directory. The system relies on these keys for AI inference and external communication nodes:
OPENROUTER_API_KEY=your_openrouter_key  # Required for visual/audio analysis nodes

TWILIO_ACCOUNT_SID=your_twilio_sid      # For SMS & Voice Call nodes
TWILIO_AUTH_TOKEN=your_twilio_token
TWILIO_PHONE_NUMBER=+1234567890
-
Python AI Backend Setup The Python engine handles the heavy lifting for YOLOv11 ONNX models and temporal execution sessions.
# Navigate to the backend directory
cd python_backend

# Create and activate a virtual environment
python -m venv venv
source venv/bin/activate  # On Windows use: venv\Scripts\activate

# Install dependencies
pip install -r requirements.txt
Note: On the first run, the server will automatically attempt to download the required YOLOv11 ONNX models into the local models/ directory.
-
Node.js Orchestrator Setup The Express server manages the workflow logic, file uploads (up to 200MB for videos), and WebSocket connections.
# Open a new terminal instance in the project root npm install # Start the development server npm run dev -
Automatic Directory Creation Upon running, the system will automatically generate the following local directories for storage:
python_backend/models/: Stores downloaded YOLO .onnx and COCO classes files.uploads/videos/: Disk storage for user-uploaded MP4/WebM files.results/: Stores saved JSON/CSV analysis outputs.
MIT License