A modern desktop note-taking application with a front-end and back-end separation!
Explore the API docs »
Chinese Documentation
·
English Documentation
·
Report a Bug
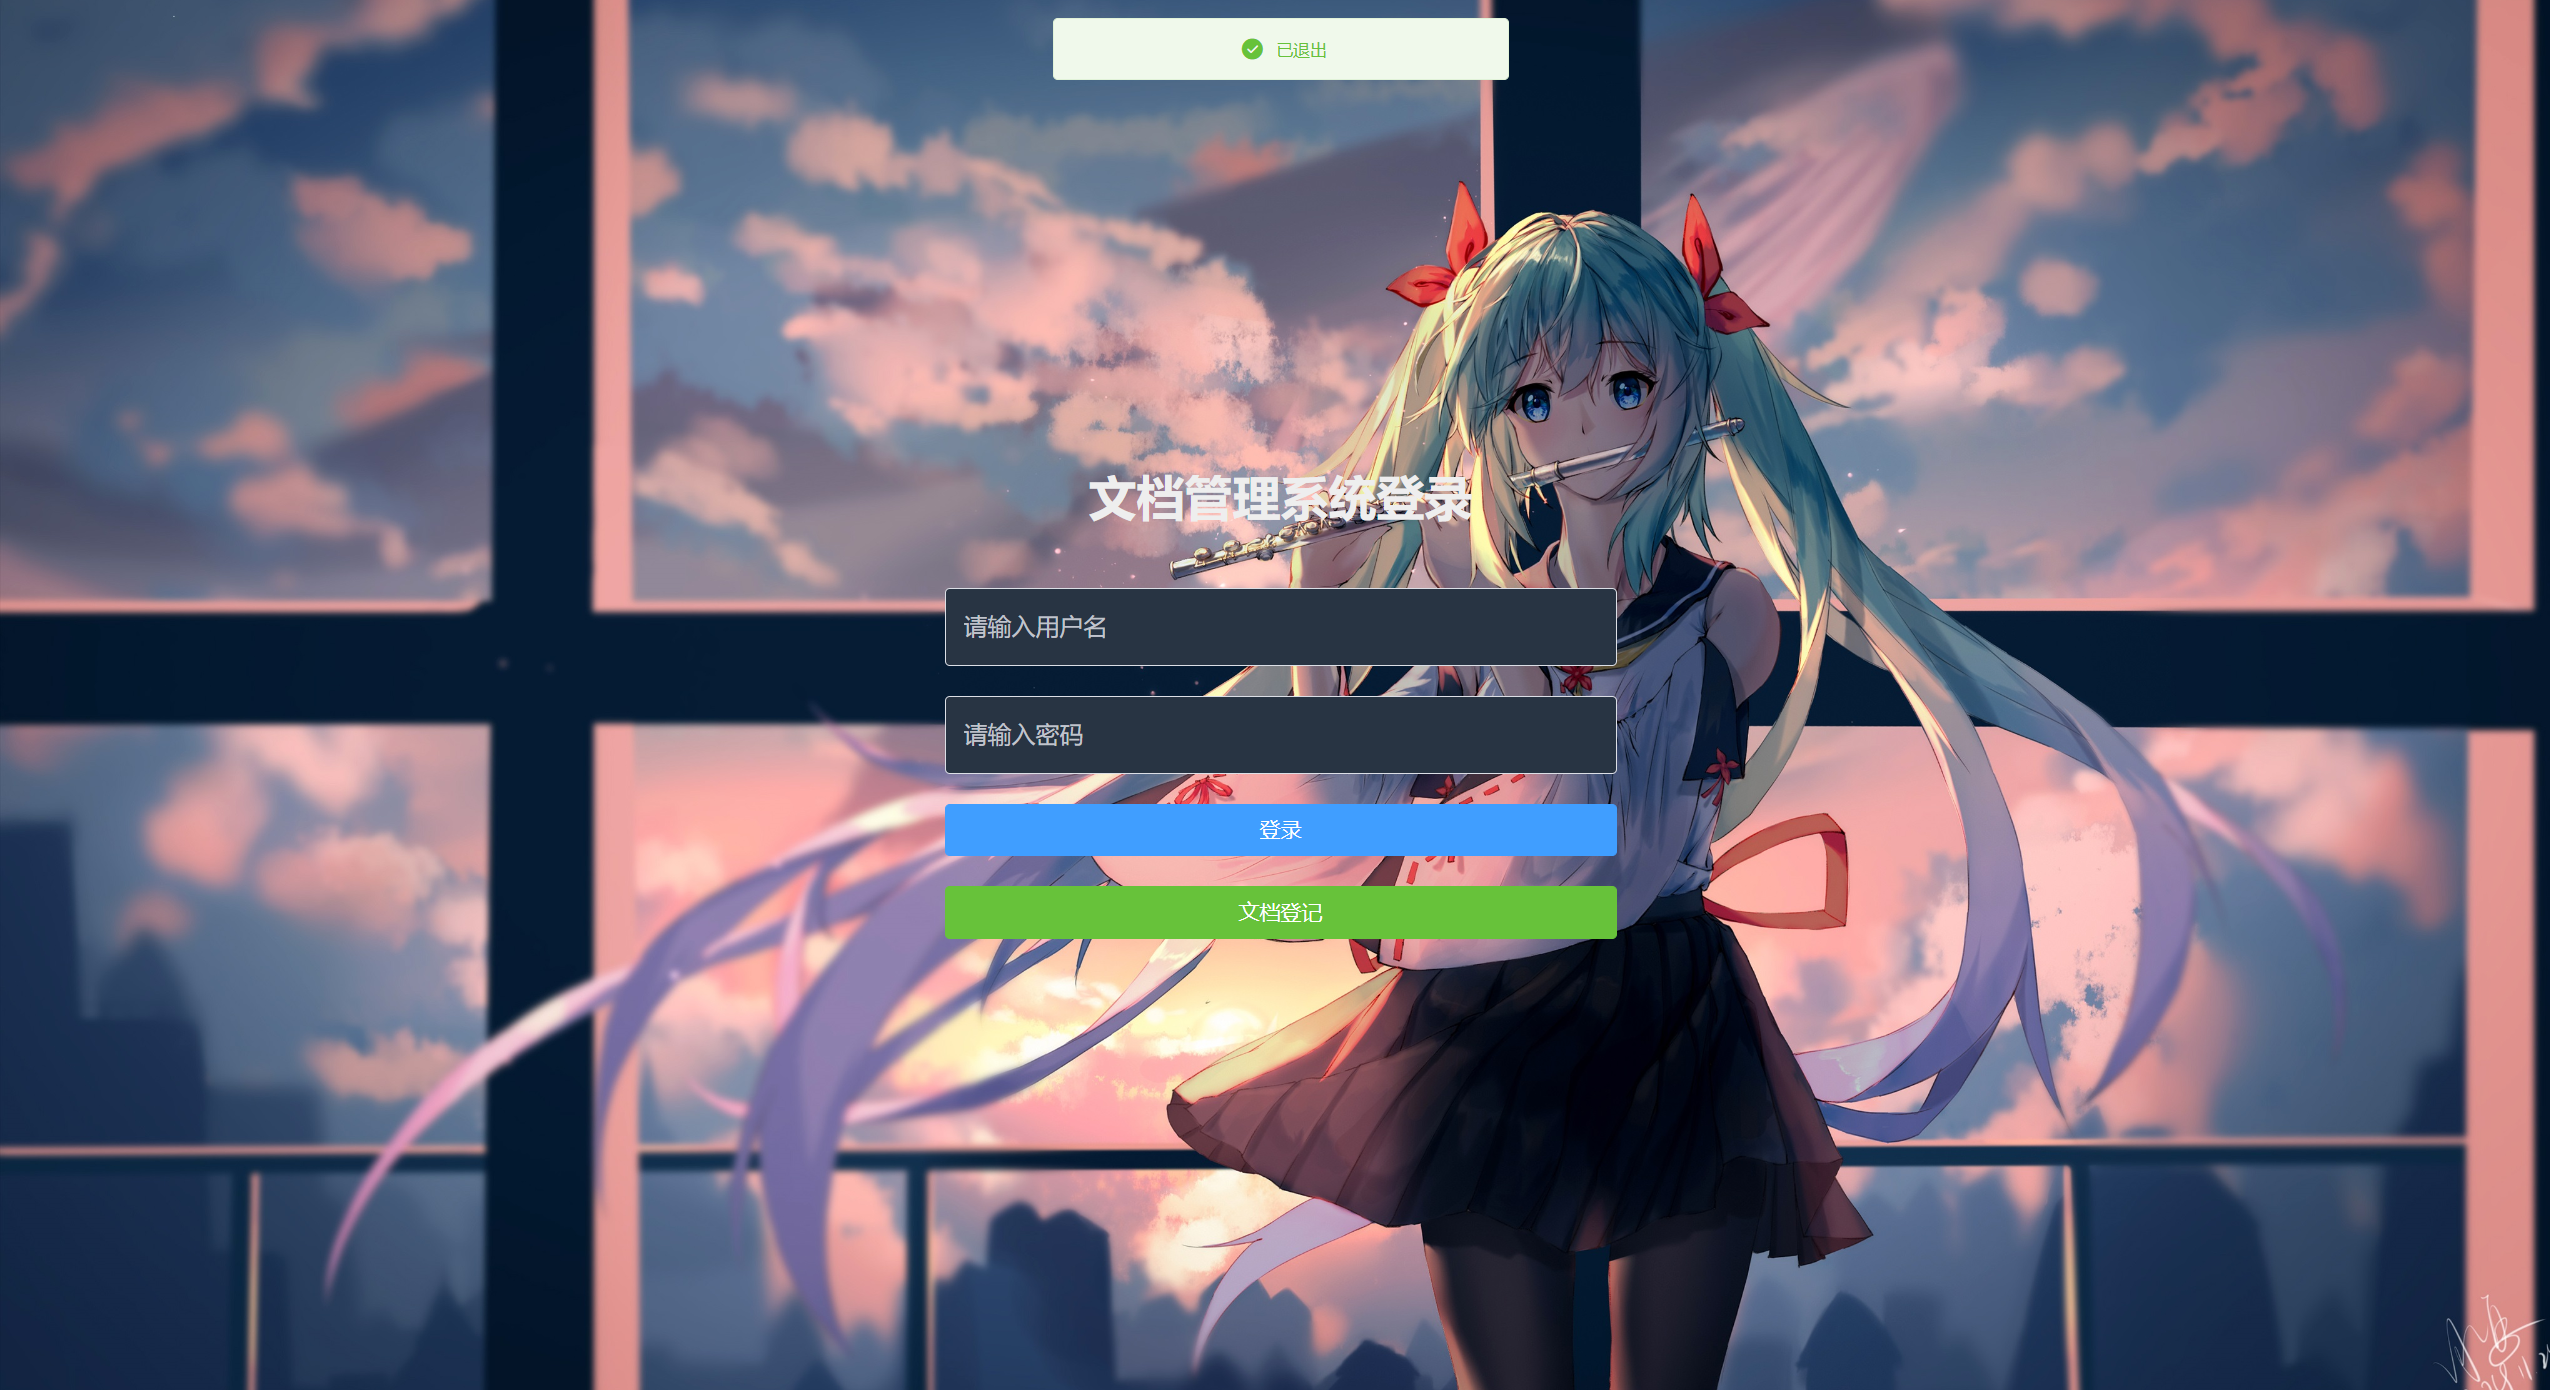
Vue Notepad is an advanced desktop note-taking application that employs a front-end and back-end separation architecture. Below are screenshots of the application's interface and features.

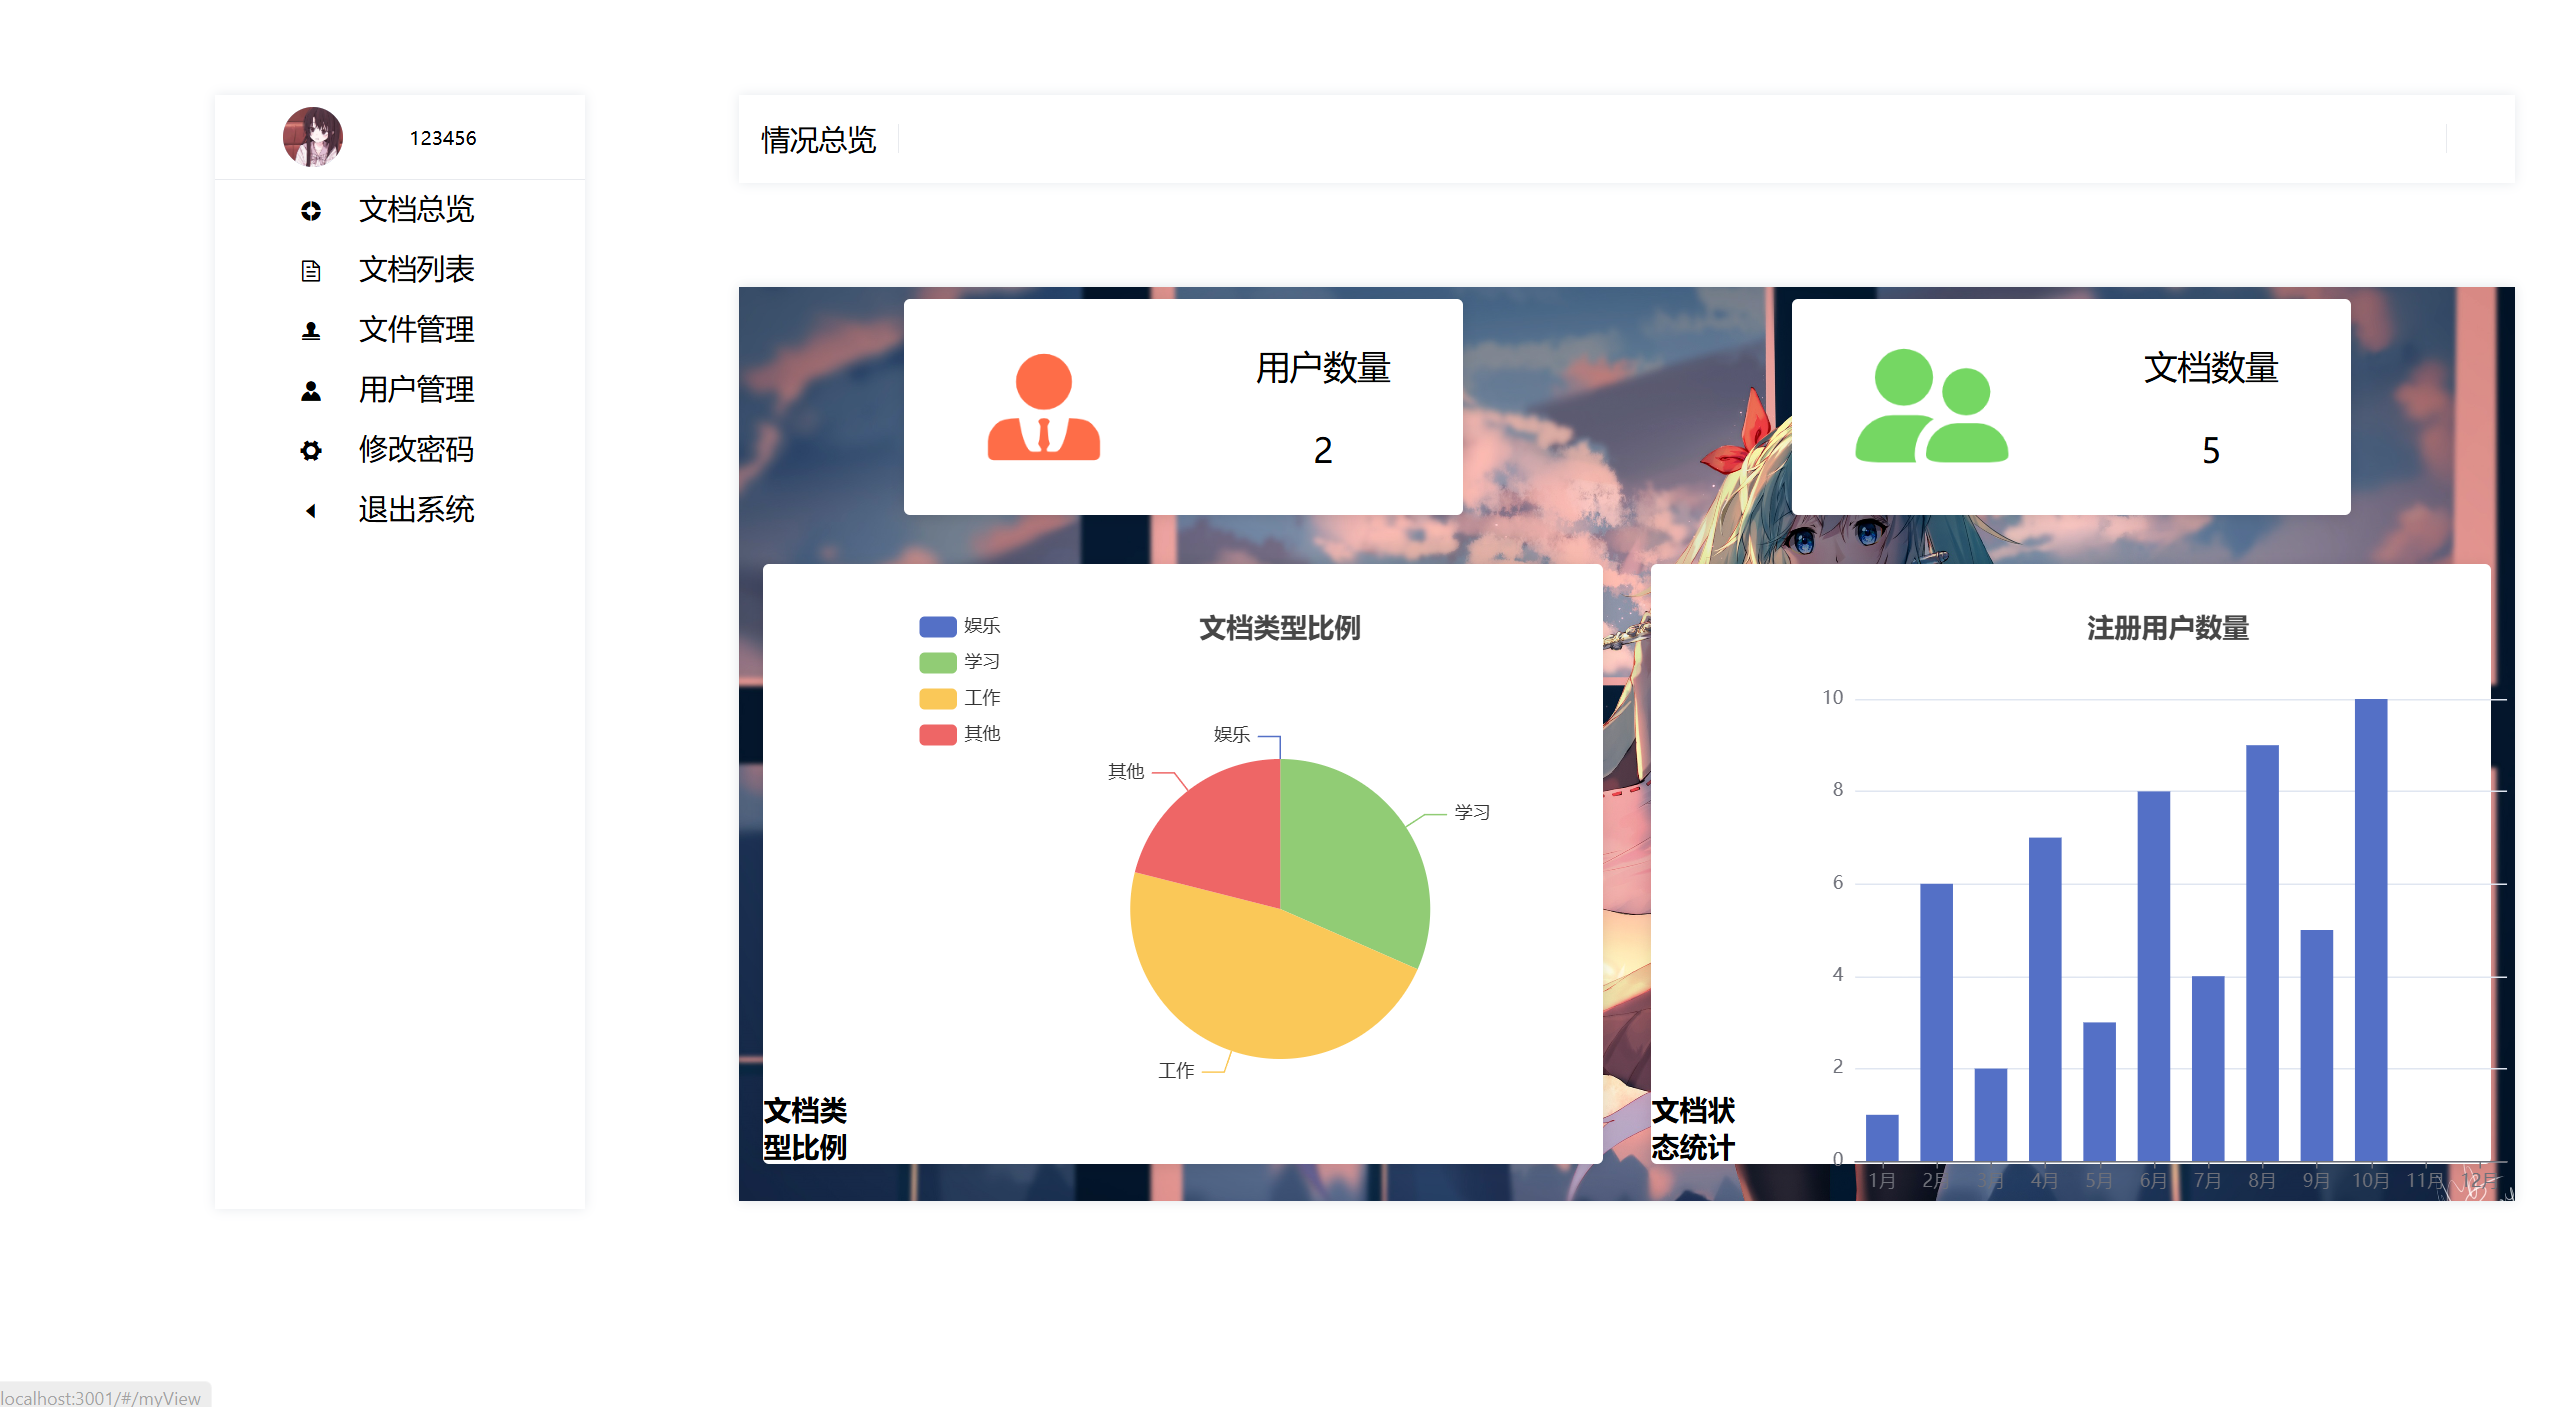
- Comprehensive Note Management: Easily create, delete, and manage notes, to-do lists, and Markdown content. Features include AI summarization, AI conversation, theme switching, and note searching.
- Powerful User System: Secure account login, registration, and user management, along with back-end note management.
- Media Handling: Seamlessly upload and manage images within the note environment.
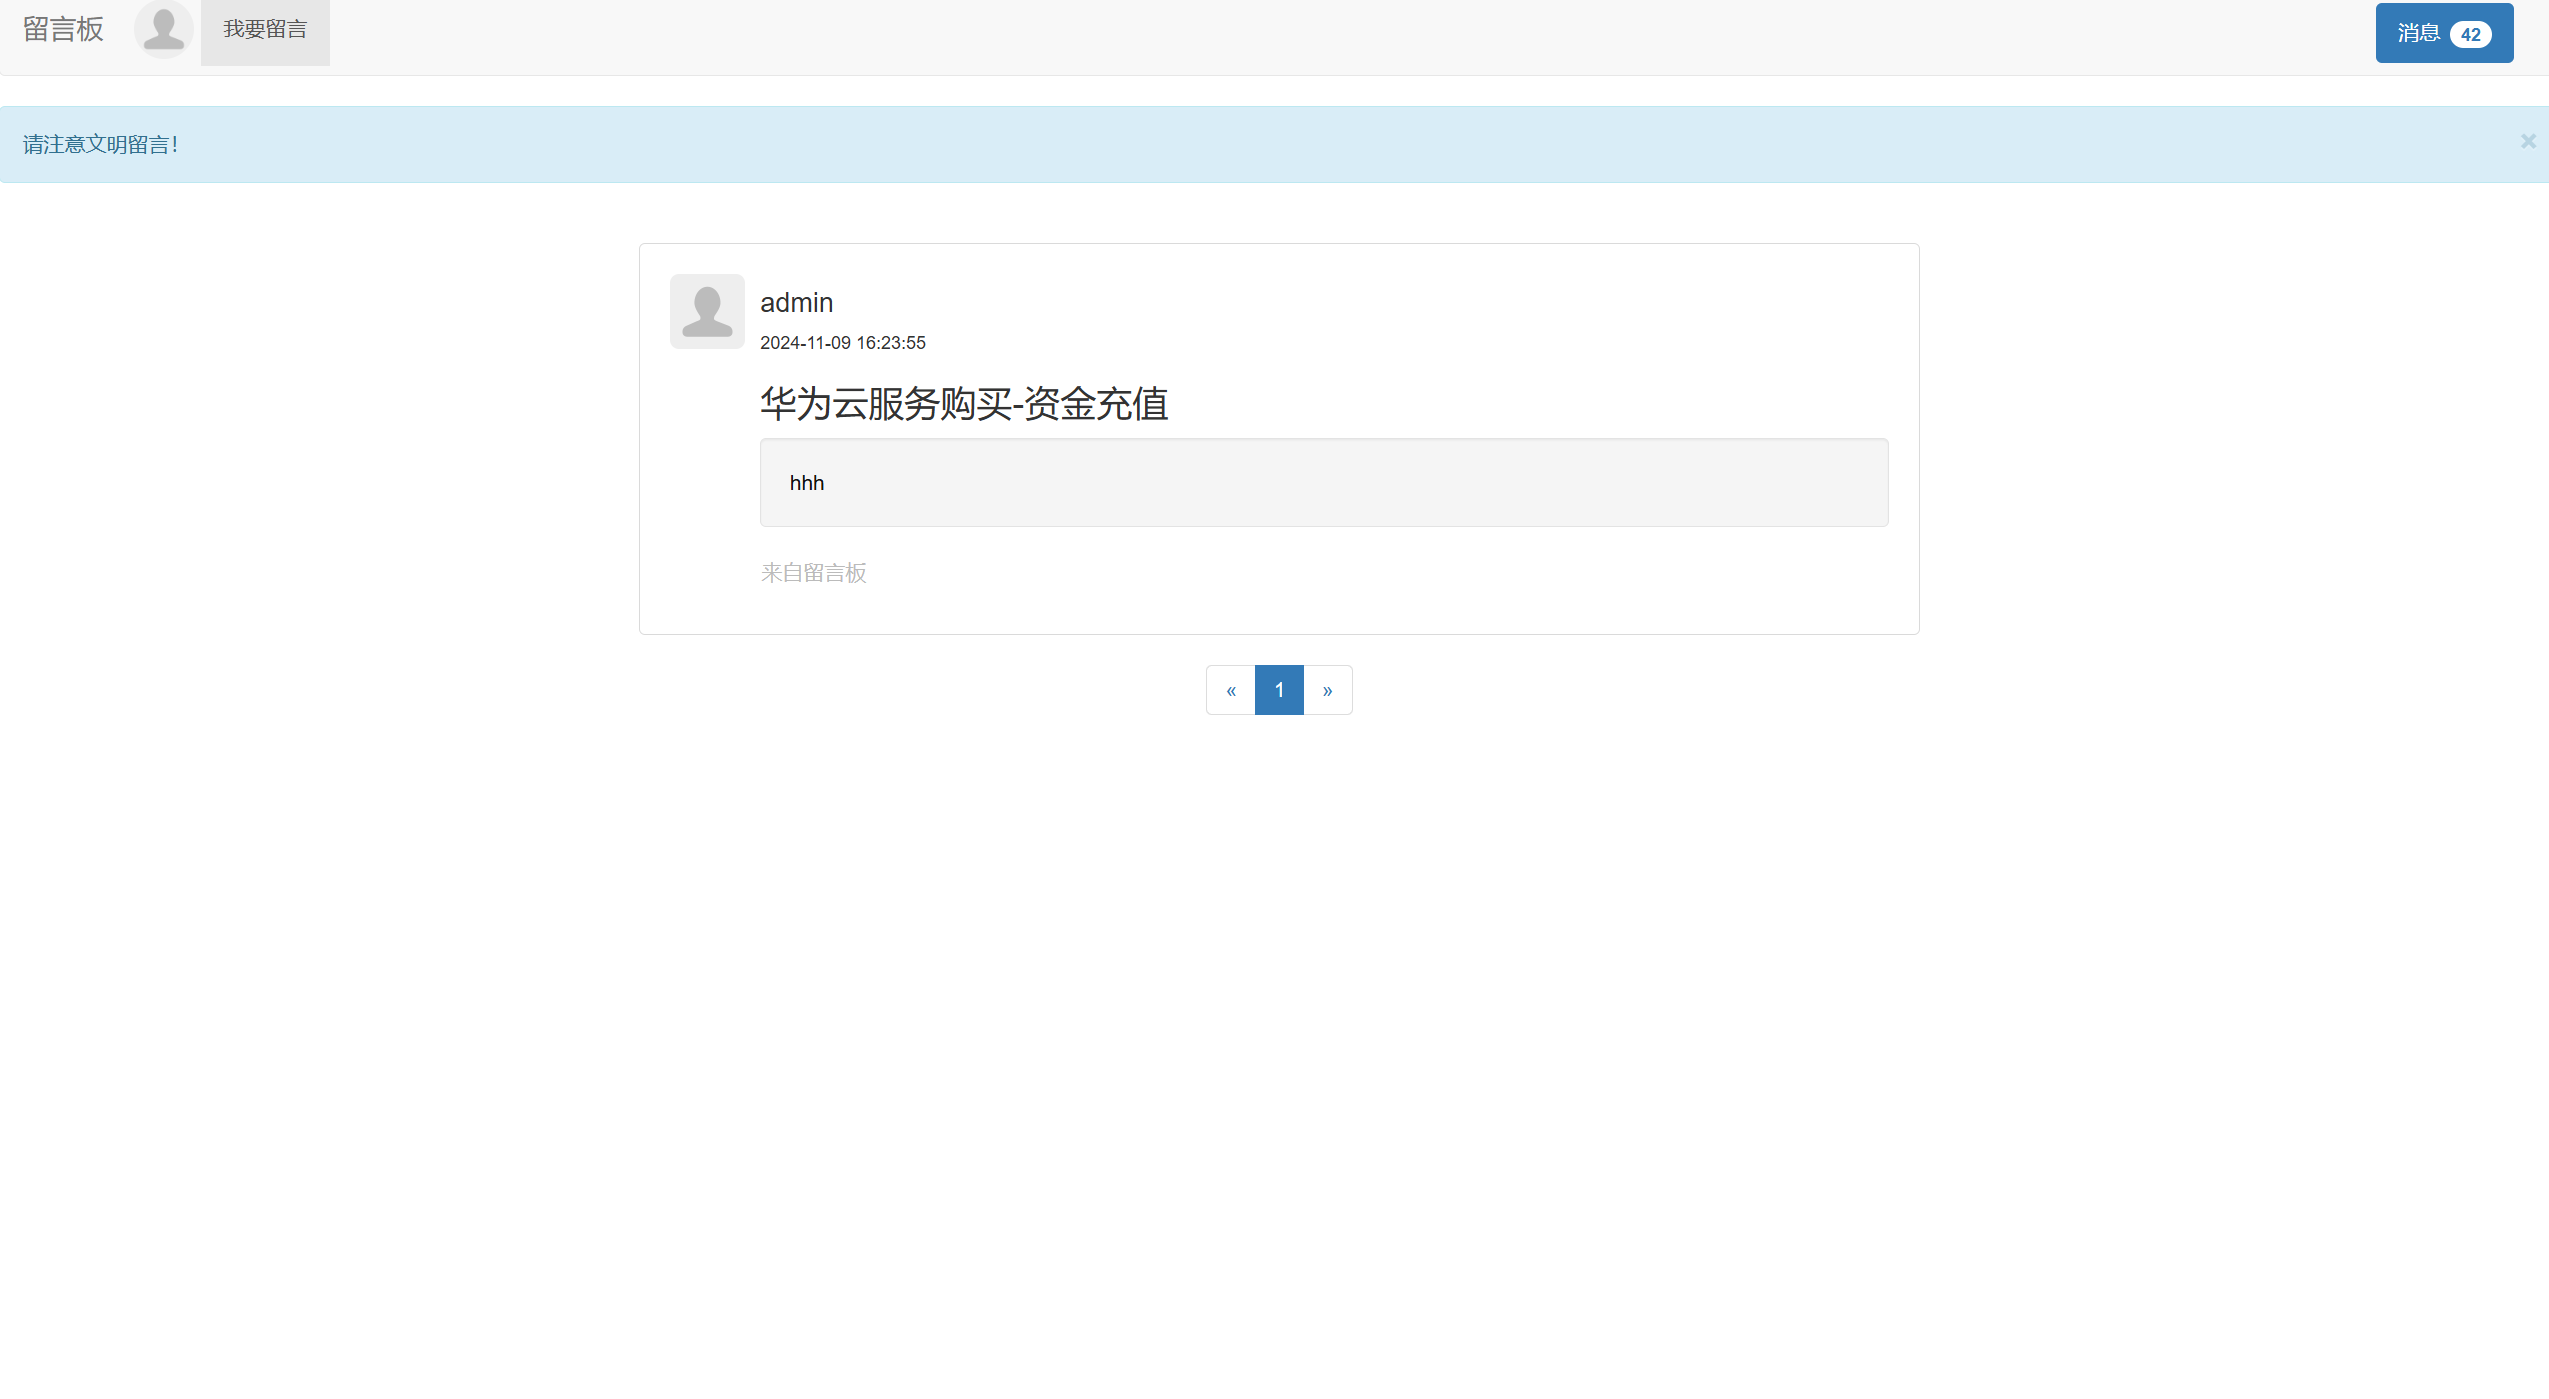
- Interactive Feedback: A product message system for collecting user feedback.
- Database Management: Utilizes
mysql2and handles high concurrency through connection pooling. - Security: Secure data processing with JWT, back-end request interceptors, and middleware for JWT header validation.
- Email Notifications: Efficiently sends emails using message queues.
- Caching and Security: Redis is used to prevent DDoS attacks and page caching. bcrypt is used for password hashing to prevent rainbow table attacks.
- Environment Configuration: Sensitive information is stored in
.envfiles. - SQL Injection Protection: Uses secure SQL syntax to reduce the risk of injection.
- File Upload Security: Verifies files during the upload process.
This section should list the main frameworks/libraries used to bootstrap your project. Leave any additional components/plugins for the acknowledgments section. Here are some examples.
https://nextjs.org/
https://reactjs.org/
https://vuejs.org/
https://angular.io/
https://svelte.dev/
https://laravel.com
https://getbootstrap.com
https://jquery.com
- Front-end: A single-page desktop application built with Vue3, Vite, Vuex, ElementUI Plus, Vue Router, Electron, Axios, Fuse.js, and Vditor.
- Local Back-end: Node.js environment.
- Server Back-end: A powerful back-end setup, including Node.js, PHP, Python, Express, Redis, mysql2, CORS, bcrypt, JWT, and Multer.
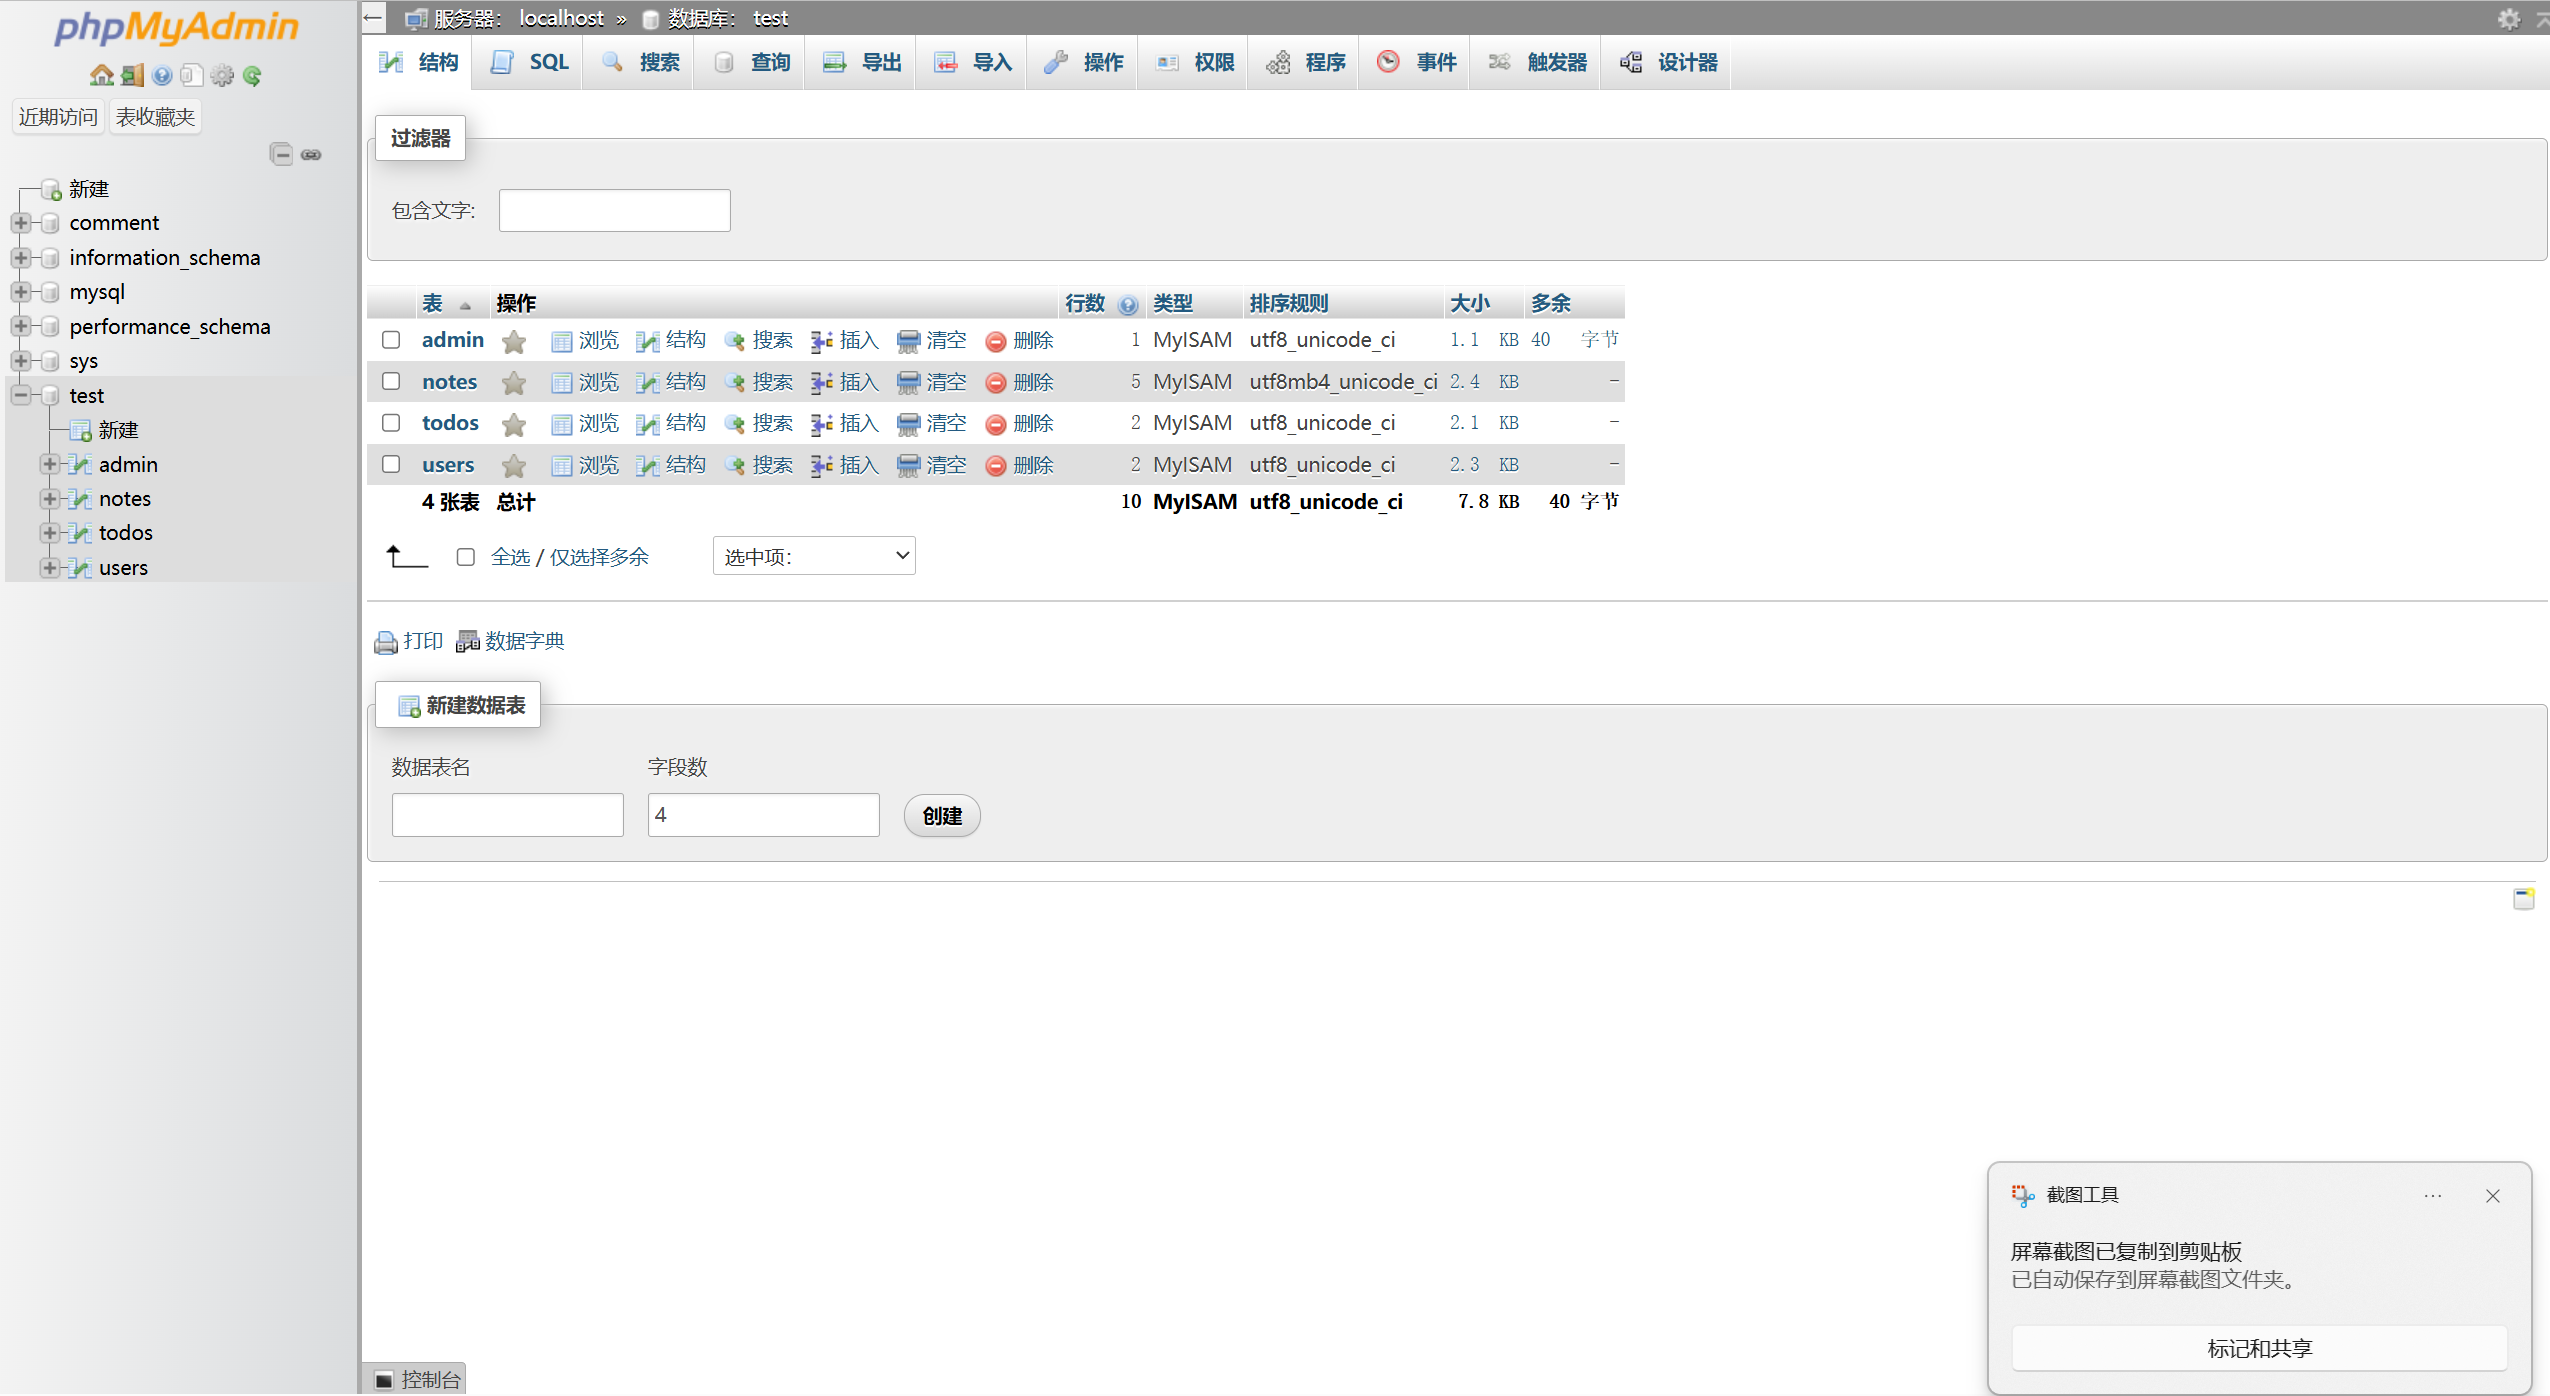
- Database: Uses MySQL for data persistence.
- Management Panel: An intuitive interface for back-end management.
- Comment System: User interaction implemented with PHP, Bootstrap, and jQuery.
Before proceeding, ensure that PHP, Python, and Node.js environments, along with the .env configuration, are correctly set up.
admin/.env file needs to be configured with database information.
VUE_APP_API_URL=http://localhost:3000 // admin backend address
VUE_APP_API_URL_BACKEND=http://localhost:4000 // backend address
DB_HOST=localhost // database address
DB_USER=root // database username
DB_PASSWORD=root // database password
DB_NAME=test // database name
PORT=3000 // port
backend/.env file needs to be configured with database information.
JWT_SECRET=your_secret_key_here // JWT secret key-
Clone the repo git clone https://github.com/github_username/repo_name.git
-
After installing
cnpm, simply run the provided one-click startup script to launch the application.
The default administrator account is admin with a password of 123456.
- Emoji Enhancement: Added more emojis for users to choose from.
- Markdown Editor Upgrade: Implemented the ability to adjust the editor's height.
- Word Count Feature: Introduced a text word count feature for better content management.
 Vue Notepad is designed to provide users with a friendly and efficient experience, focusing on security and performance. The application's modular architecture ensures scalability and ease of maintenance, making it an ideal choice for users who value productivity and privacy.
hllqk - @hllqkb - hllqkb@gmail.com
Project Link: https://github.com/hllqk/VueNotepad
Contributions are what make the open source community such a wonderful place to learn, inspire, and create. Any contributions you make are greatly appreciated. If you have suggestions for improving this project, here are some step-by-step guidelines:
-
Fork the Project Use GitHub's Fork button to create a copy of the project.
-
Create Your Feature Branch
git checkout -b feature/AmazingFeature Create a new branch in your fork for development of your feature.
Commit your changes
git commit -m 'Add some AmazingFeature' Commit your changes with a clear message.
Push to the branch
git push origin feature/AmazingFeature Push your feature branch to the remote repository.
Open a Pull Request
Initiate a Pull Request through the GitHub interface from your feature branch to the main branch of the original repository.
Don't forget to star the project! Thanks for your contribution!
If you wish to propose improvements, you can also open an issue with the “enhancement” label.
Thank you again for your participation and support!