Maps for Blazor is a library that provides components for displaying maps in Blazor applications. It supports various map providers (Esri, Leaflet) and allows developers to easily integrate interactive maps, without any JavaScript settings, into their Blazor projects. One code, one blazor component and many technologies.
KEYWORDS: Minimizing Invoke callers to JavaScript, No JavaScript specific settings, no script references, no css links. One code, one component many technologies.
You can display the map in the blazor page using one of the provided technologies (Esri, Leaflet providers). Regardless of the technology provider (Esri, Leaflet), the code for implementing the map will be the same.
| ArcGIS | Leaflet |
|---|---|
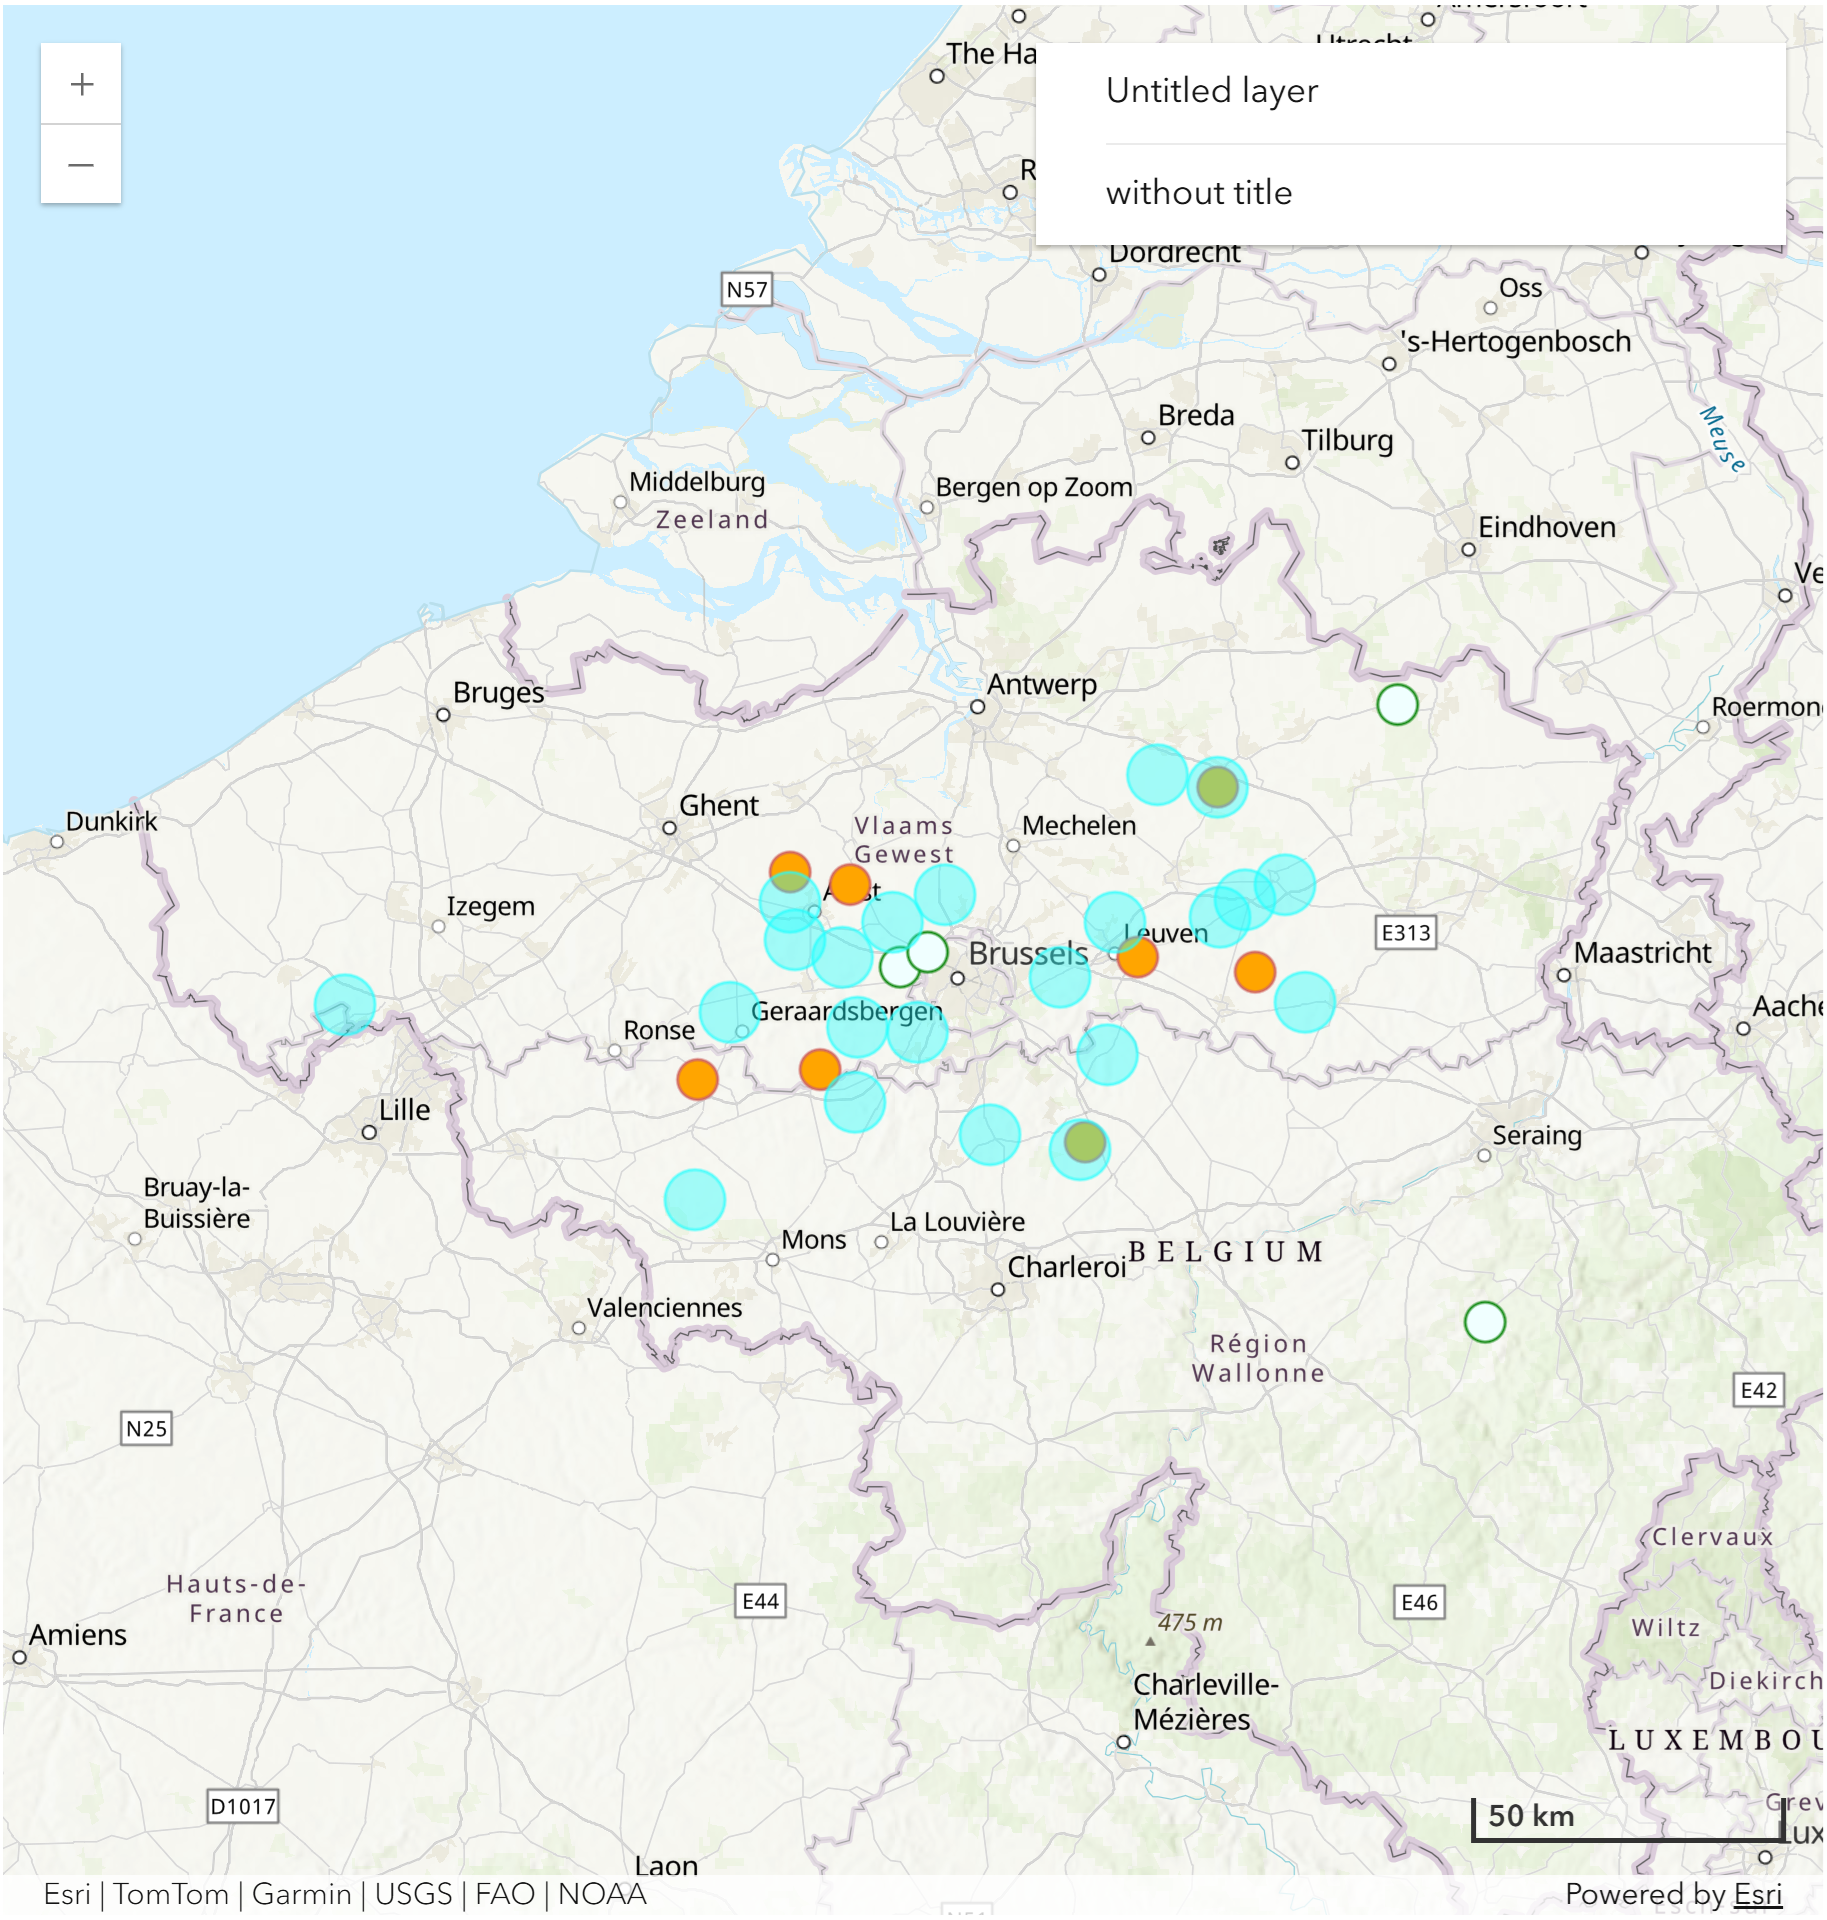 |
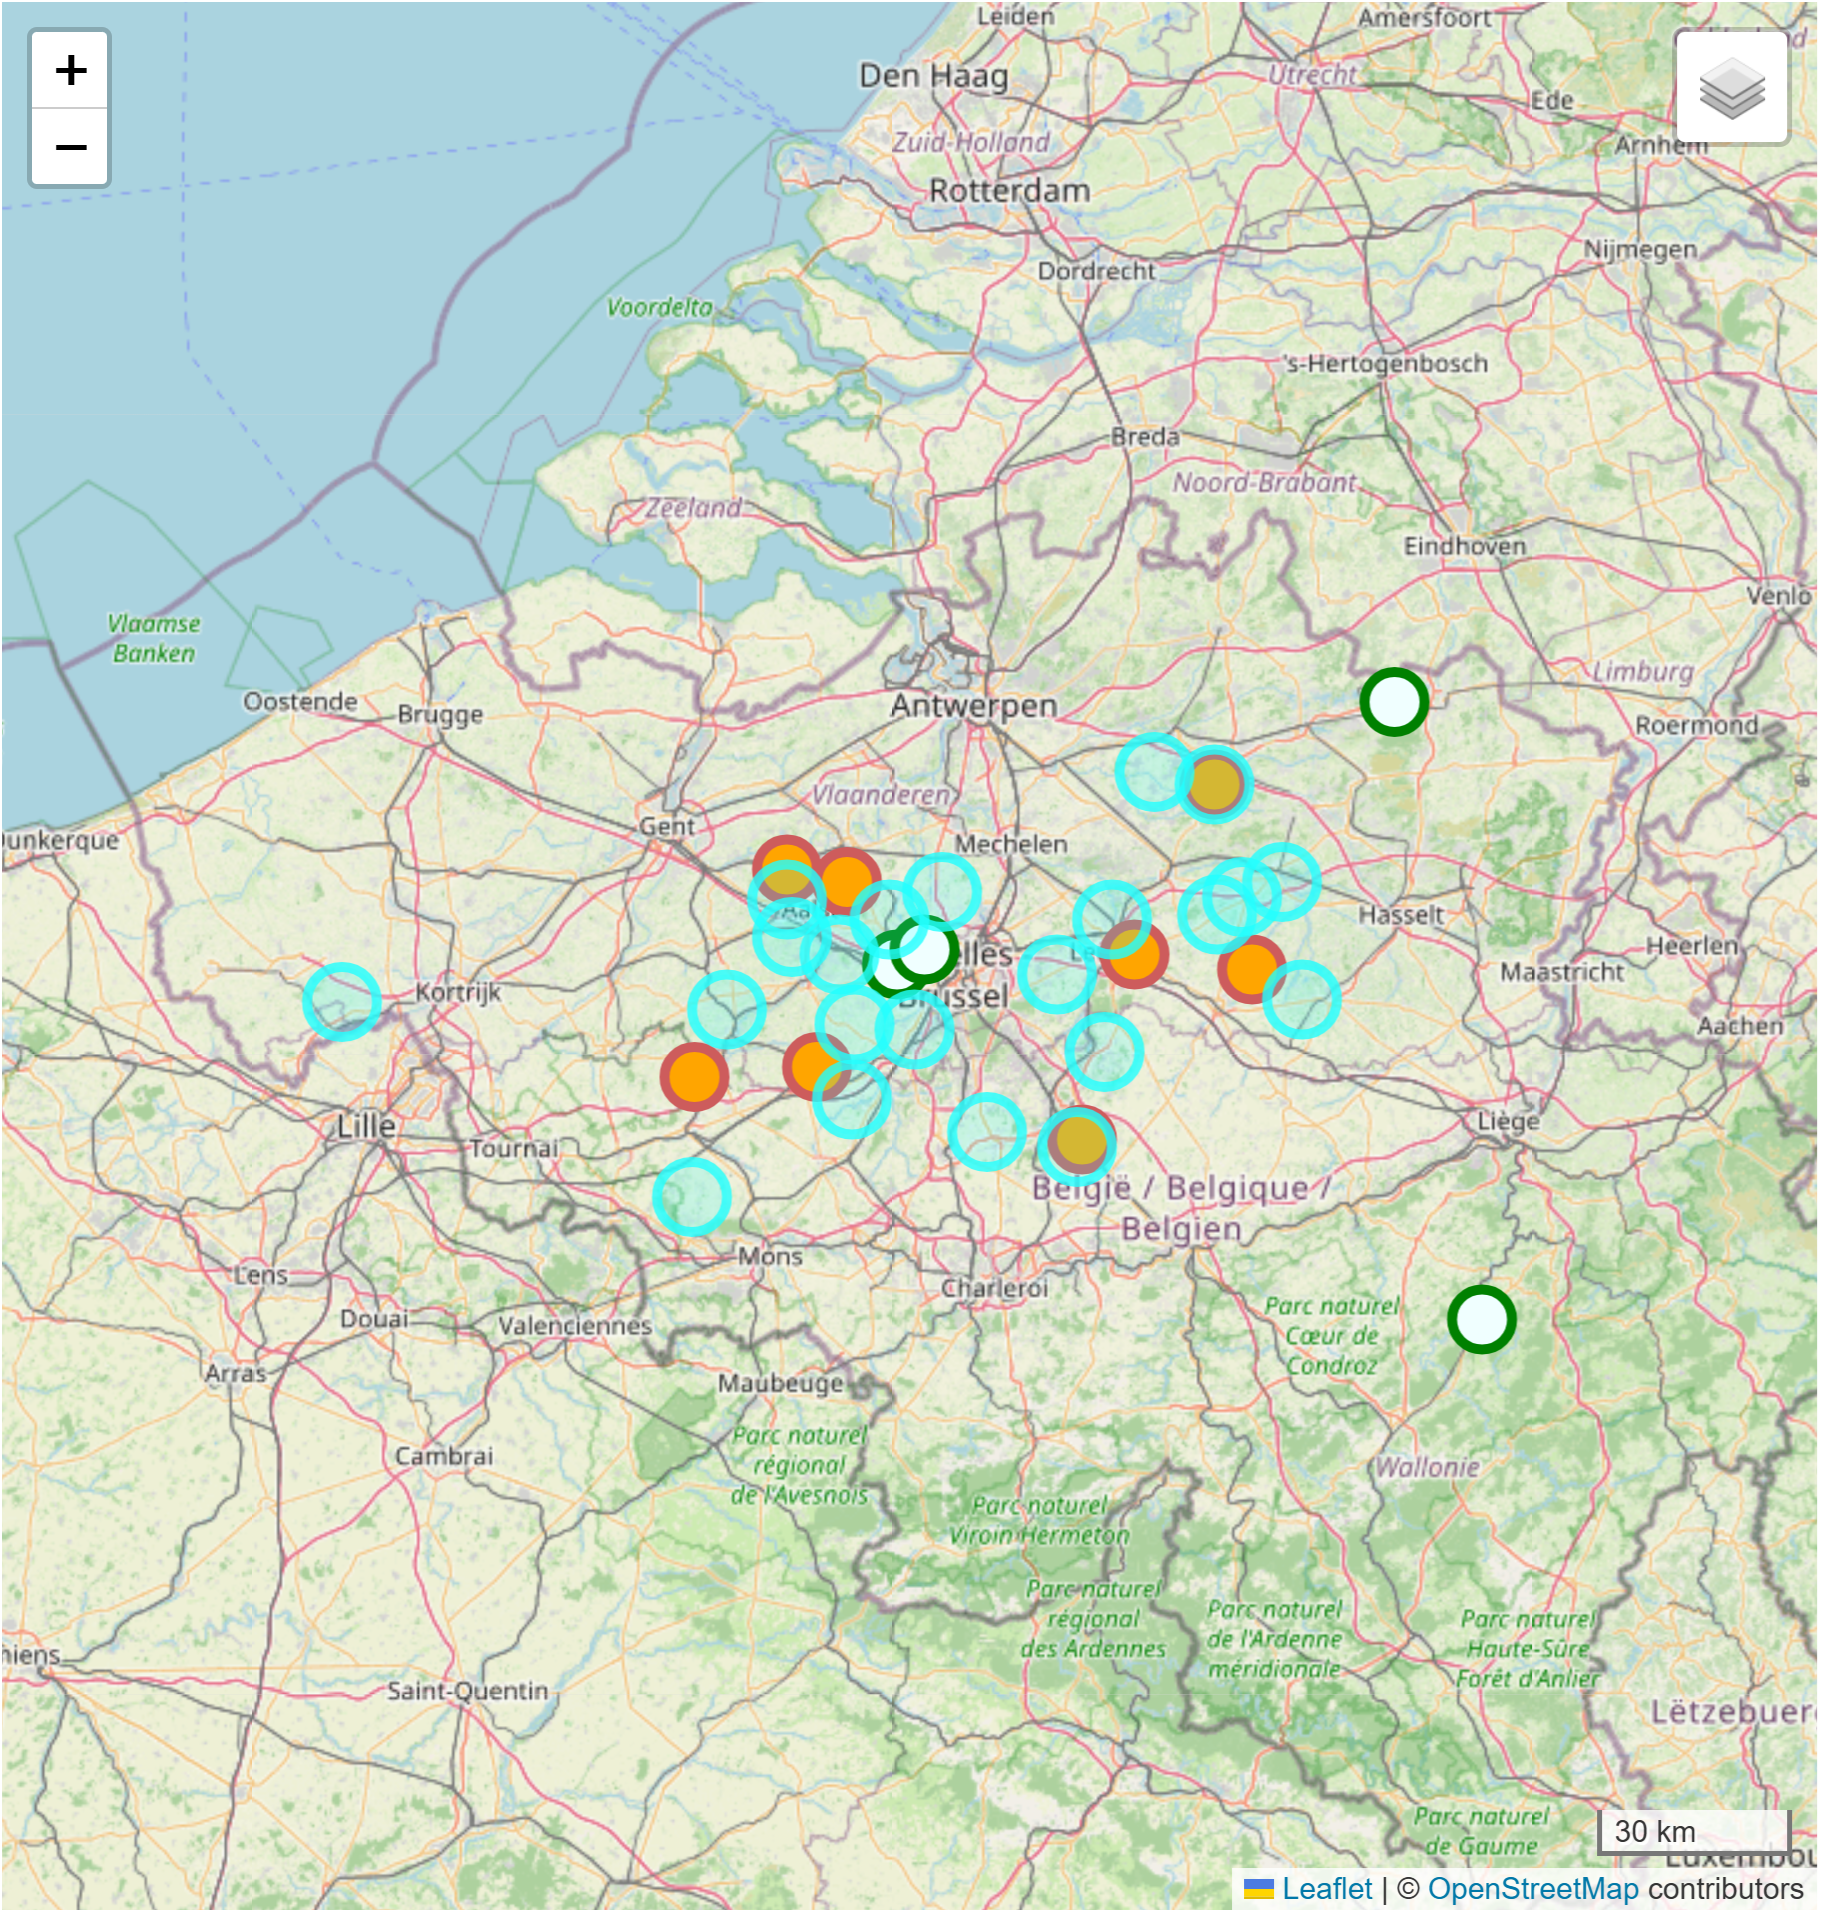 |
🔵 Add the right map and technology to your project in just 3 steps:
- add MapsForBlazor NuGet package:
Using Visual Studio interface:
- Tools -> NuGet Package Manager -> Manage NuGet Packages for Solution...
Search for "MapsForBlazor" and add the package to the project or solution.
Or using Visual Studio console:
-
Tools -> NuGet Package Manager -> Package Manager Console
NuGet\Install-Package MapsForBlazor
- add the MapsForBlazor namespace to the project, using the @using directive
To do this, add the following directives to the _Imports.razor file
@using MapsForBlazor
@using static MapsForBlazor.Map
- Configuring the Blazor page (which will host the Map control):
The @using directive allows selecting the API for generating the map:
@using static MapsForBlazor.techs.maps.ArcGIS //ArcGIS
Or:
@using static MapsForBlazor.techs.maps.Leaflet //Leaflet
🔵 The following code is the same (identical) regardless of the namespace chosen (whether you chose MapsForBlazor.techs.maps.ArcGIS or whether you chose MapsForBlazor.techs.maps.Leaflet). |
|---|
Adding the map to the blazor page:
<Map height="calc(100vh - 1rem)" width="calc(100vw - 2rem)"/>
The default (loading) parameters of the map can be configured using the loadParameters parameter of the Map component.
for ArcGIS:
@using static MapsForBlazor.techs.maps.ArcGIS //for ArcGIS Maps SDK
<Map loadParameters="@loadParameters" height="calc(100vh - 1rem)" width="calc(100vw - 2rem)"/>
for Leaflet:
@using static MapsForBlazor.techs.maps.Leaflet //for Leaflet
<Map loadParameters="@loadParameters" height="calc(100vh - 1rem)" width="calc(100vw - 2rem)"/>
@code{
   LoadParameters loadParameters = new LoadParameters()
    {
        location = new Location()
        {
            latitude = 50.870847591747186,
            longitude = 4.257255449993001
        },
        zoomLevel = 10,
        mapControls = new MapControls()                                         //the controls to be displayed on the map
        {
            layerList = new LayerList() { position =  Position.bottomRight },   //layer list control
            scaleBar = new ScaleBar() {                                         //scale bar control
                position = Position.bottomRight,
                unitOfScaleBar = UnitOfScaleBar.metric
            },

        }
    };
}
To optimize rendering, MapsForBlazor operates with a predefined data structure for points.
public class StreamPoint
{
    public Guid guid { get; set; }
    public Coordinates coordinates { get; set; }
    public object value { get; set; }
    public DateTime timestamp { get; set; }
    public string? type { get; set; }
}
| 🔵 This structure can be extended, using custom data structures, for the value parameter. |
|---|
To add points to the map it is important that the map is already initialized. The first event that is triggered after the map is initialized is OnAfterMapLoaded.
Event initialization:
🔹Blazor Page:
<Map height="calc(100vh - 1rem)" width="calc(100vw - 2rem)" OnAfterMapLoaded="@OnAfterMapLoaded"/>
🔹Code Block:
@code {
        private async Task OnAfterMapLoaded(MapEventArgs args)
        {

        }
    }
To add points to the map, you can use the Add method of the Map component. This method accepts a list of StreamPoint objects.
🔹Blazor Page:
<Map height="calc(100vh - 1rem)" width="calc(100vw - 2rem)" OnAfterMapLoaded="@OnAfterMapLoaded"/>
🔹Code Block:
@code {
        private async Task OnAfterMapLoaded(MapEventArgs args)
        {
             await map.Geometric.Points.Add(new List<StreamPoint>(){});
        }
    }
await map.Geometric.Points.Remove();
You can update both the attributes and the point position (coordinates):
await map.Geometric.Points.Update(new List<StreamPoint>(){});
The points collection provides the OnClick event that allows you to return the points near which the click was made on the map. The distance to search for points, from the point where the click was made, is one hundredth of the diagonal of the visible area of the map.
    map.Geometric.Points.OnClick += async (object? sender, StreamPointEventArgs args) =>
   {
       Console.WriteLine($"    Clicked point with count {args.points.Count()}");
   };
Where:
    public class StreamPointEventArgs : EventArgs
    {
       public List<StreamPoint> points { get; set; }    //points near the point where the click was made
       public Coordinates geoid { get; set; }           //geographical coordinates of the point where the click was made
       public Coordinates screen { get; set; }          //screen coordinates of the point where the click was made
    }
Appearance is a method that allows filtering and applying properties specific to the display of points on the map. Appearance settings can be cascaded (one after another, on the same Appearance filter):
   await map.Geometric.Points.Appearance(e => e.type == "A" || e.type == "B")
    .SetStyle(new PointStyle() { radius = 14, color = "green", fillColor = "azure", weight = 4 })
    .SetPopup(new Popup() { content = "<h4 style = 'background-color:gray;color:orange'>Text on popup</h4>", title = "titlu"});
Other examples:
-
No filtering (the entire
StreamPointcollection will have the same Appearance):await map.Geometric.Points.Appearance() .SetStyle(new PointStyle() { radius = 14, color = "green", fillColor = "azure", weight = 4 }) .SetPopup(new Popup() { content = "<h4 style = 'background-color:gray;color:orange'>Text on popup</h4>", title = "titlu"}); -
Contained in an Array (Contains clause):
string[] types = new string[] { "A", "B" };
await map.Geometric.Points.Appearance(e => types.Contains(e.type))
 .SetStyle(new PointStyle() { radius = 14, color = "green", fillColor = "azure", weight = 4 })
 .SetPopup(new Popup() { content = "<h4 style = 'background-color:gray;color:orange'>Text on popup<</h4>", title = "titlu"});
| ᶜ⁴ˡᵘ⁷ᵘ⁵ᵘᶠˡᵉ⁷⁸ᵘⁿ |
|---|
Laurentiu Ichim, Bucharest