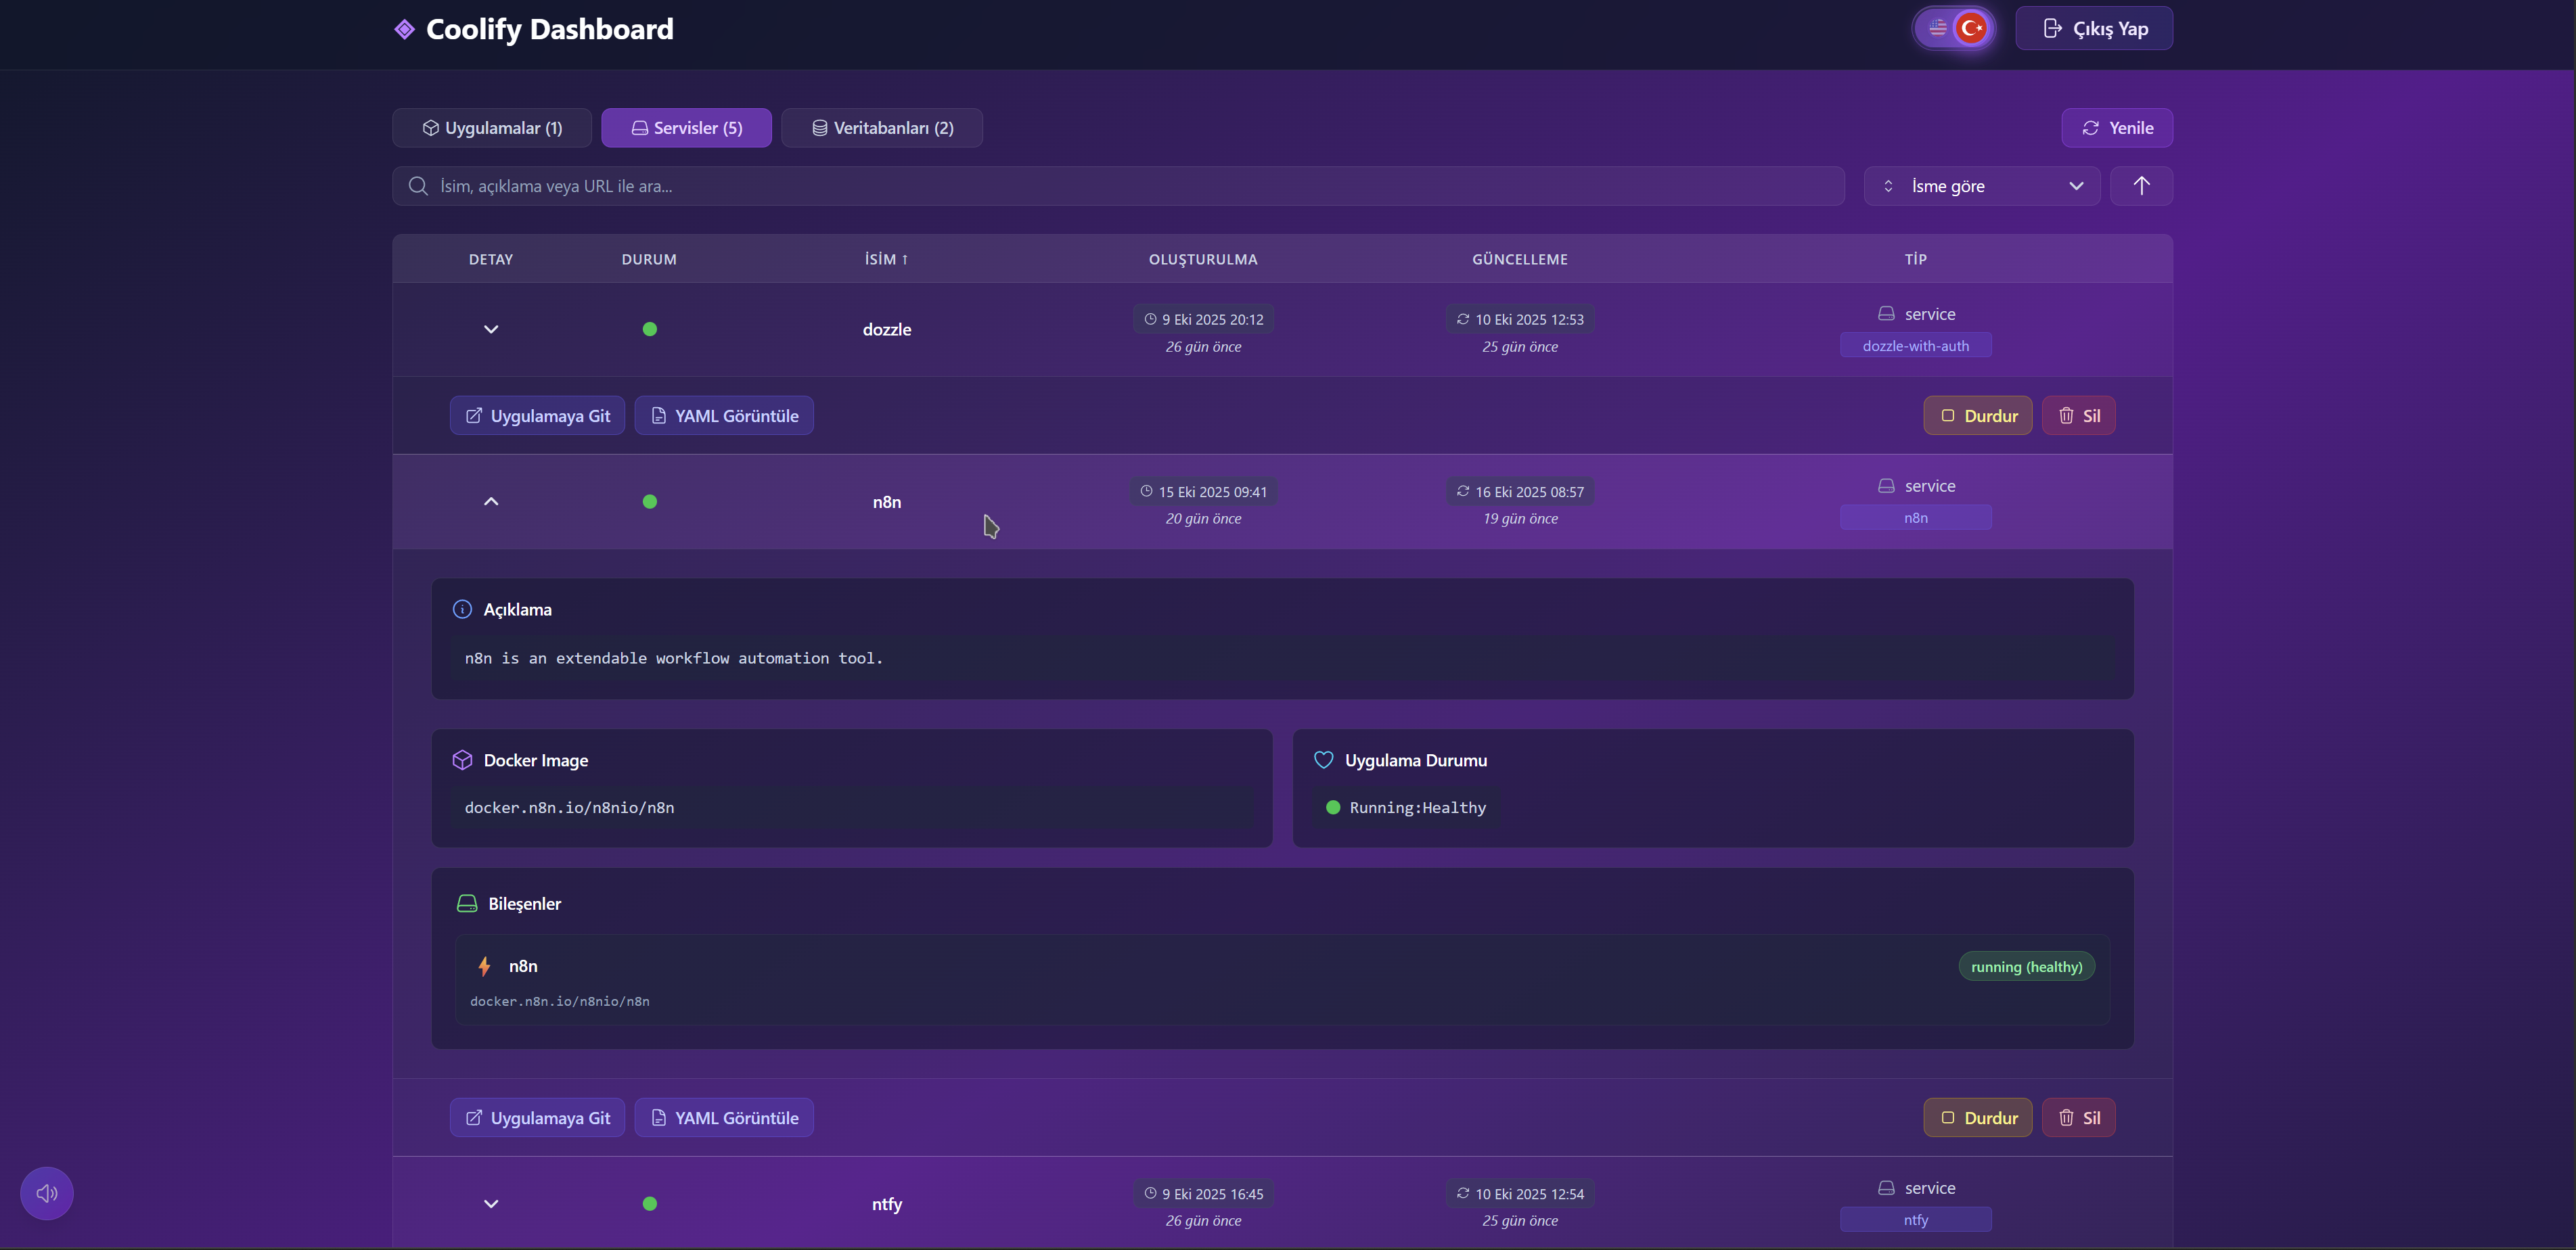
A modern, production-ready dashboard for monitoring Coolify applications, services, and databases with comprehensive multi-language support.
docker pull torukobyte/coolify-dashboard:latest

docker run -d -p 5000:5000 \
  --name coolify-dashboard \
  -e "ADMIN_USERNAME=admin" \
  -e "ADMIN_PASSWORD=your_secure_password" \
  -e "ADMIN_2FA_SECRET=your_2fa_secret_key" \
  -e "JWT_SECRET=your_jwt_secret_key" \
  -e "ALLOWED_ORIGINS=https://dashboard.kalayciburak.com.tr" \
  -e "COOLIFY_BASE_URL=https://coolify.kalayciburak.com.tr" \
  -e "COOLIFY_TOKEN=your_coolify_api_token" \
  -e "DASHBOARD_USER_TYPE=admin" \
  torukobyte/coolify-dashboard:latest
Access the dashboard at http://localhost:5000
Navigate to your Coolify instance and create a new application:
- Click "Add New" in the Coolify dashboard
- Select "Docker Image" as the deployment type
- Enter image name:
torukobyte/coolify-dashboard:latest
Configure the basic settings:
- Domain:
dashboard.kalayciburak.com.tr - Port:
5000 - Configure network and storage settings as needed
Set the following required environment variables:
ADMIN_USERNAME=admin
ADMIN_PASSWORD=your_secure_password
ADMIN_2FA_SECRET=your_2fa_secret_key
JWT_SECRET=your_jwt_secret_key
ALLOWED_ORIGINS=https://dashboard.kalayciburak.com.tr
COOLIFY_BASE_URL=https://coolify.kalayciburak.com.tr
COOLIFY_TOKEN=your_coolify_api_token
DASHBOARD_USER_TYPE=adminGenerate a secure 2FA secret for authentication:
# If running locally
cd server
npm run generate-2fa

# If using Docker, generate manually:
node -e "console.log(require('speakeasy').generateSecret({length: 32}).base32)"
Copy the generated secret and use it as ADMIN_2FA_SECRET in your environment variables.
Important: Before deploying, generate your Coolify API token with proper permissions based on your user type:
- Navigate to your Coolify instance settings
- Go to API Tokens section
- Click "Create New Token"
- Select the following permissions:
- read: Enable all read permissions
- read:sensitive: Enable sensitive data read access
- Copy the generated token and use it as
COOLIFY_TOKEN - Set
DASHBOARD_USER_TYPE=viewerin environment variables
Note: The read:sensitive permission is required to access detailed resource information, including environment variables and sensitive configuration data.
- Navigate to your Coolify instance settings
- Go to API Tokens section
- Click "Create New Token"
- Select the following permissions:
- write: Enable all write permissions (includes read access)
- Copy the generated token and use it as
COOLIFY_TOKEN - Set
DASHBOARD_USER_TYPE=adminin environment variables
Note: The write permission is required for admin features, which include:
- Starting and stopping services
- Deleting services
- Viewing live service logs with filtering
- All read operations available in viewer mode
Warning: Only use admin mode with users you trust, as it grants full control over your Coolify services.
After deployment, setup Two-Factor Authentication. This can only be done once!
-
Check if setup is available:
curl https://dashboard.kalayciburak.com.tr/api/auth/2fa/status # Response: {"setupCompleted": false, "canSetup": true} -
Send a POST request to
/api/auth/2fa/setupwith your admin credentials:curl -X POST https://dashboard.kalayciburak.com.tr/api/auth/2fa/setup \ -H "Content-Type: application/json" \ -d '{"username":"admin","password":"your_password"}'
-
The response will include a QR code in the
qrCodefield. To view it:- Copy the entire
qrCodevalue (starts withdata:image/png;base64,...) - Paste it into your browser's URL bar
- Press Enter to display the QR code image
- Copy the entire
-
Scan the displayed QR code with an authenticator app:
- Google Authenticator (iOS/Android)
- Microsoft Authenticator (iOS/Android) - Shows logo
- Authy (iOS/Android/Desktop) - Shows logo
- 1Password (Premium feature)
-
Save the secret in a secure location as backup
If you need to reset or regenerate your 2FA setup (e.g., lost authenticator app access, compromised secret, or want to use a different device), follow these steps:
The dashboard does not provide a UI for resetting 2FA for security reasons. This prevents unauthorized users from regenerating 2FA codes even if they gain access to your dashboard. The reset process requires server-level access, ensuring maximum security.
1. Stop the Application
First, stop your running application:
# If running locally
npm stop
# If using Docker
docker stop coolify-dashboard
# If on Coolify
# Use Coolify UI to stop the application2. Delete the 2FA State File
This file tracks whether 2FA setup has been completed:
# Navigate to server directory
cd server
# Delete the state file
rm .2fa-state.json
# If using Docker/Coolify, access the container:
docker exec -it coolify-dashboard rm /app/server/.2fa-state.json3. Generate a New 2FA Secret
Create a new secret key:
# If running locally
cd server
npm run generate-2fa
# If using Docker, generate manually:
node -e "console.log(require('speakeasy').generateSecret({length: 32}).base32)"Copy the generated secret (it looks like: JBSWY3DPEHPK3PXP)
4. Update Environment Variables
Update your .env file or environment configuration:
ADMIN_2FA_SECRET=YOUR_NEW_SECRET_HEREOn Coolify:
- Go to your application settings
- Navigate to Environment Variables
- Update
ADMIN_2FA_SECRETwith the new value - Save changes
5. Restart the Application
# If running locally
npm run dev
# If using Docker
docker restart coolify-dashboard
# If on Coolify
# Use Coolify UI to restart/deploy the application6. Setup 2FA Again
After restart, follow Step 6 to complete the new 2FA setup:
curl -X POST https://dashboard.kalayciburak.com.tr/api/auth/2fa/setup \
  -H "Content-Type: application/json" \
-d '{"username":"admin","password":"your_password"}'Scan the new QR code with your authenticator app.
7. Remove Old Entry from Authenticator App
Important: Don't forget to delete the old "Coolify Dashboard" entry from your authenticator app, as it will no longer work with the new secret.
| Step | Action | Command/Location |
|---|---|---|
| 1 | Stop Application | docker stop coolify-dashboard or Coolify UI |
| 2 | Delete State File | rm server/.2fa-state.json |
| 3 | Generate New Secret | npm run generate-2fa or node -e "..." |
| 4 | Update Env Var | Edit .env or Coolify Environment Variables |
| 5 | Restart App | docker restart or Coolify Deploy |
| 6 | Setup 2FA | POST to /api/auth/2fa/setup |
| 7 | Update Authenticator | Remove old entry, scan new QR |
- Save the configuration
- Click "Deploy" to start the application
- The dashboard will be available at your configured domain


| Variable | Description | Example | Required | Default |
|---|---|---|---|---|
ADMIN_USERNAME |
Dashboard administrator username | admin |
Yes | - |
ADMIN_PASSWORD |
Dashboard administrator password | secure_password |
Yes | - |
ADMIN_2FA_SECRET |
Two-Factor Authentication secret (Base32 encoded) | Generate using npm run generate-2fa |
Yes | - |
JWT_SECRET |
Secret key for JWT token generation | random_secret_key |
Yes | - |
ALLOWED_ORIGINS |
CORS allowed origins (comma-separated for multiple) | https://dashboard.kalayciburak.com.tr |
Yes | - |
COOLIFY_BASE_URL |
Your Coolify instance base URL | https://coolify.kalayciburak.com.tr |
Yes | - |
COOLIFY_TOKEN |
Coolify API token (read+read:sensitive for viewer, write for admin) | your_api_token |
Yes | - |
DASHBOARD_USER_TYPE |
User access level: viewer (read-only) or admin (full control) |
admin or viewer |
No | viewer |
NODE_ENV |
Environment mode: development disables 2FA for easier testing |
development or production |
No | production |
While using Coolify, I found myself constantly clicking through each application and service individually just to view their URLs and basic information. This repetitive process became tedious when managing multiple resources. I thought, "Why not build a simple, elegant solution that displays everything at a glance?" This dashboard was born from that need—a centralized view to monitor all resources efficiently. If others find it useful too, that's even better.
- Two-Factor Authentication (2FA): Enhanced security with TOTP-based authentication
- Role-Based Access Control: Viewer mode (read-only) and Admin mode (full control)
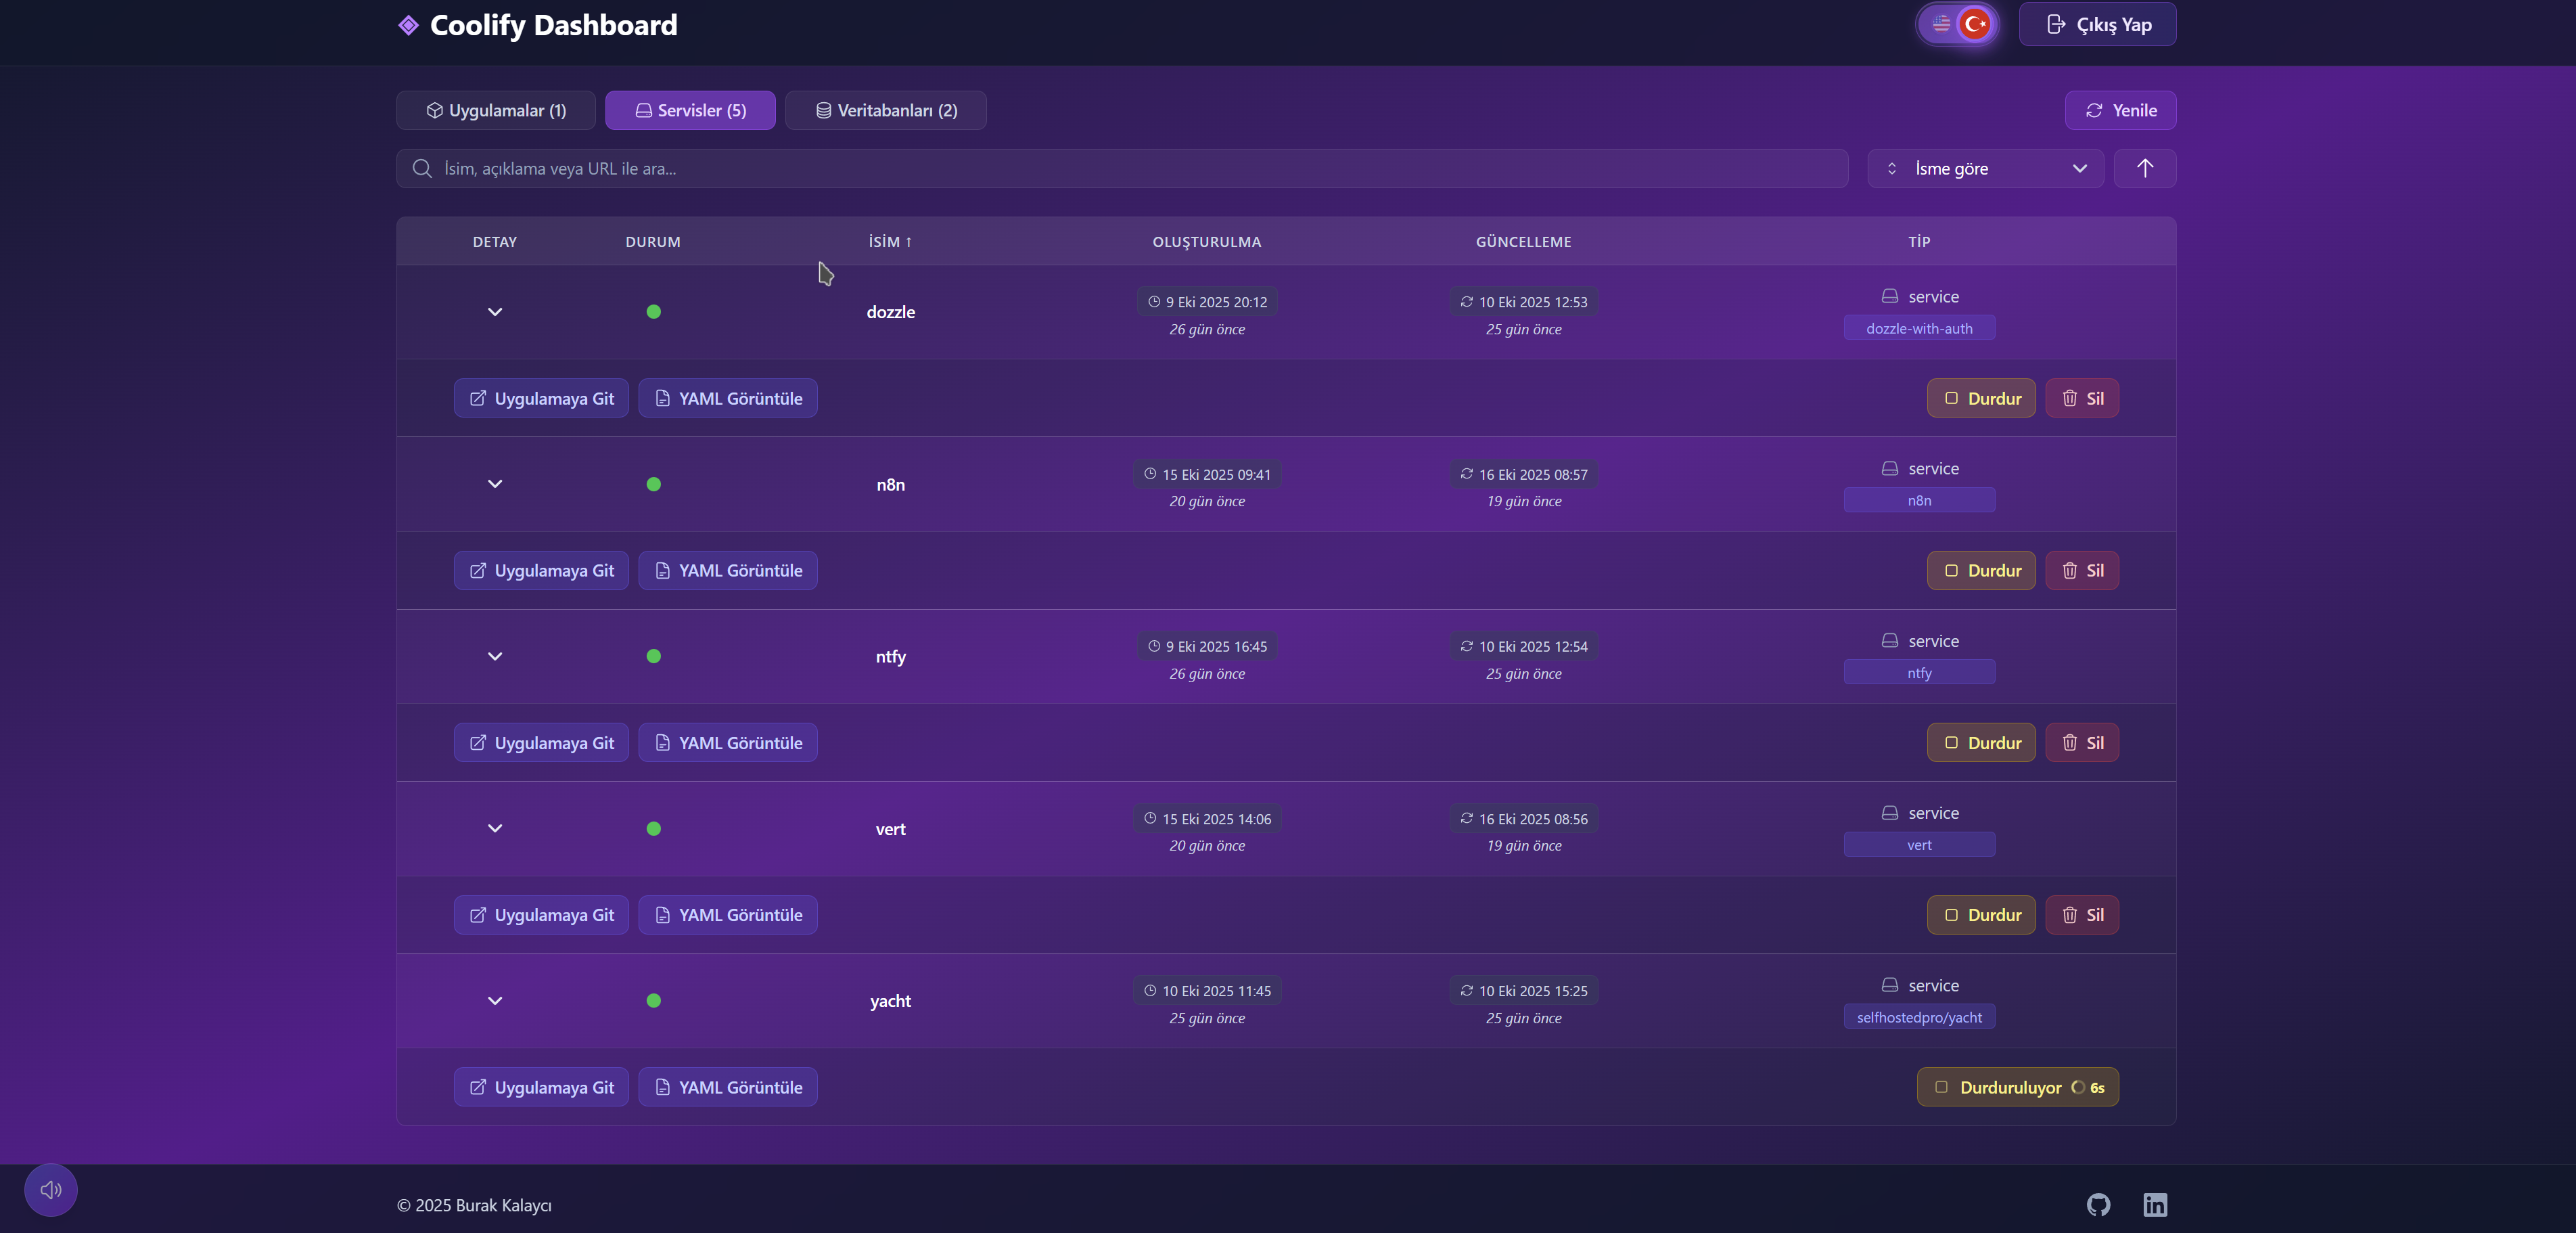
- Admin Service Management:
- Start and stop services with one click
- Delete services directly from the dashboard
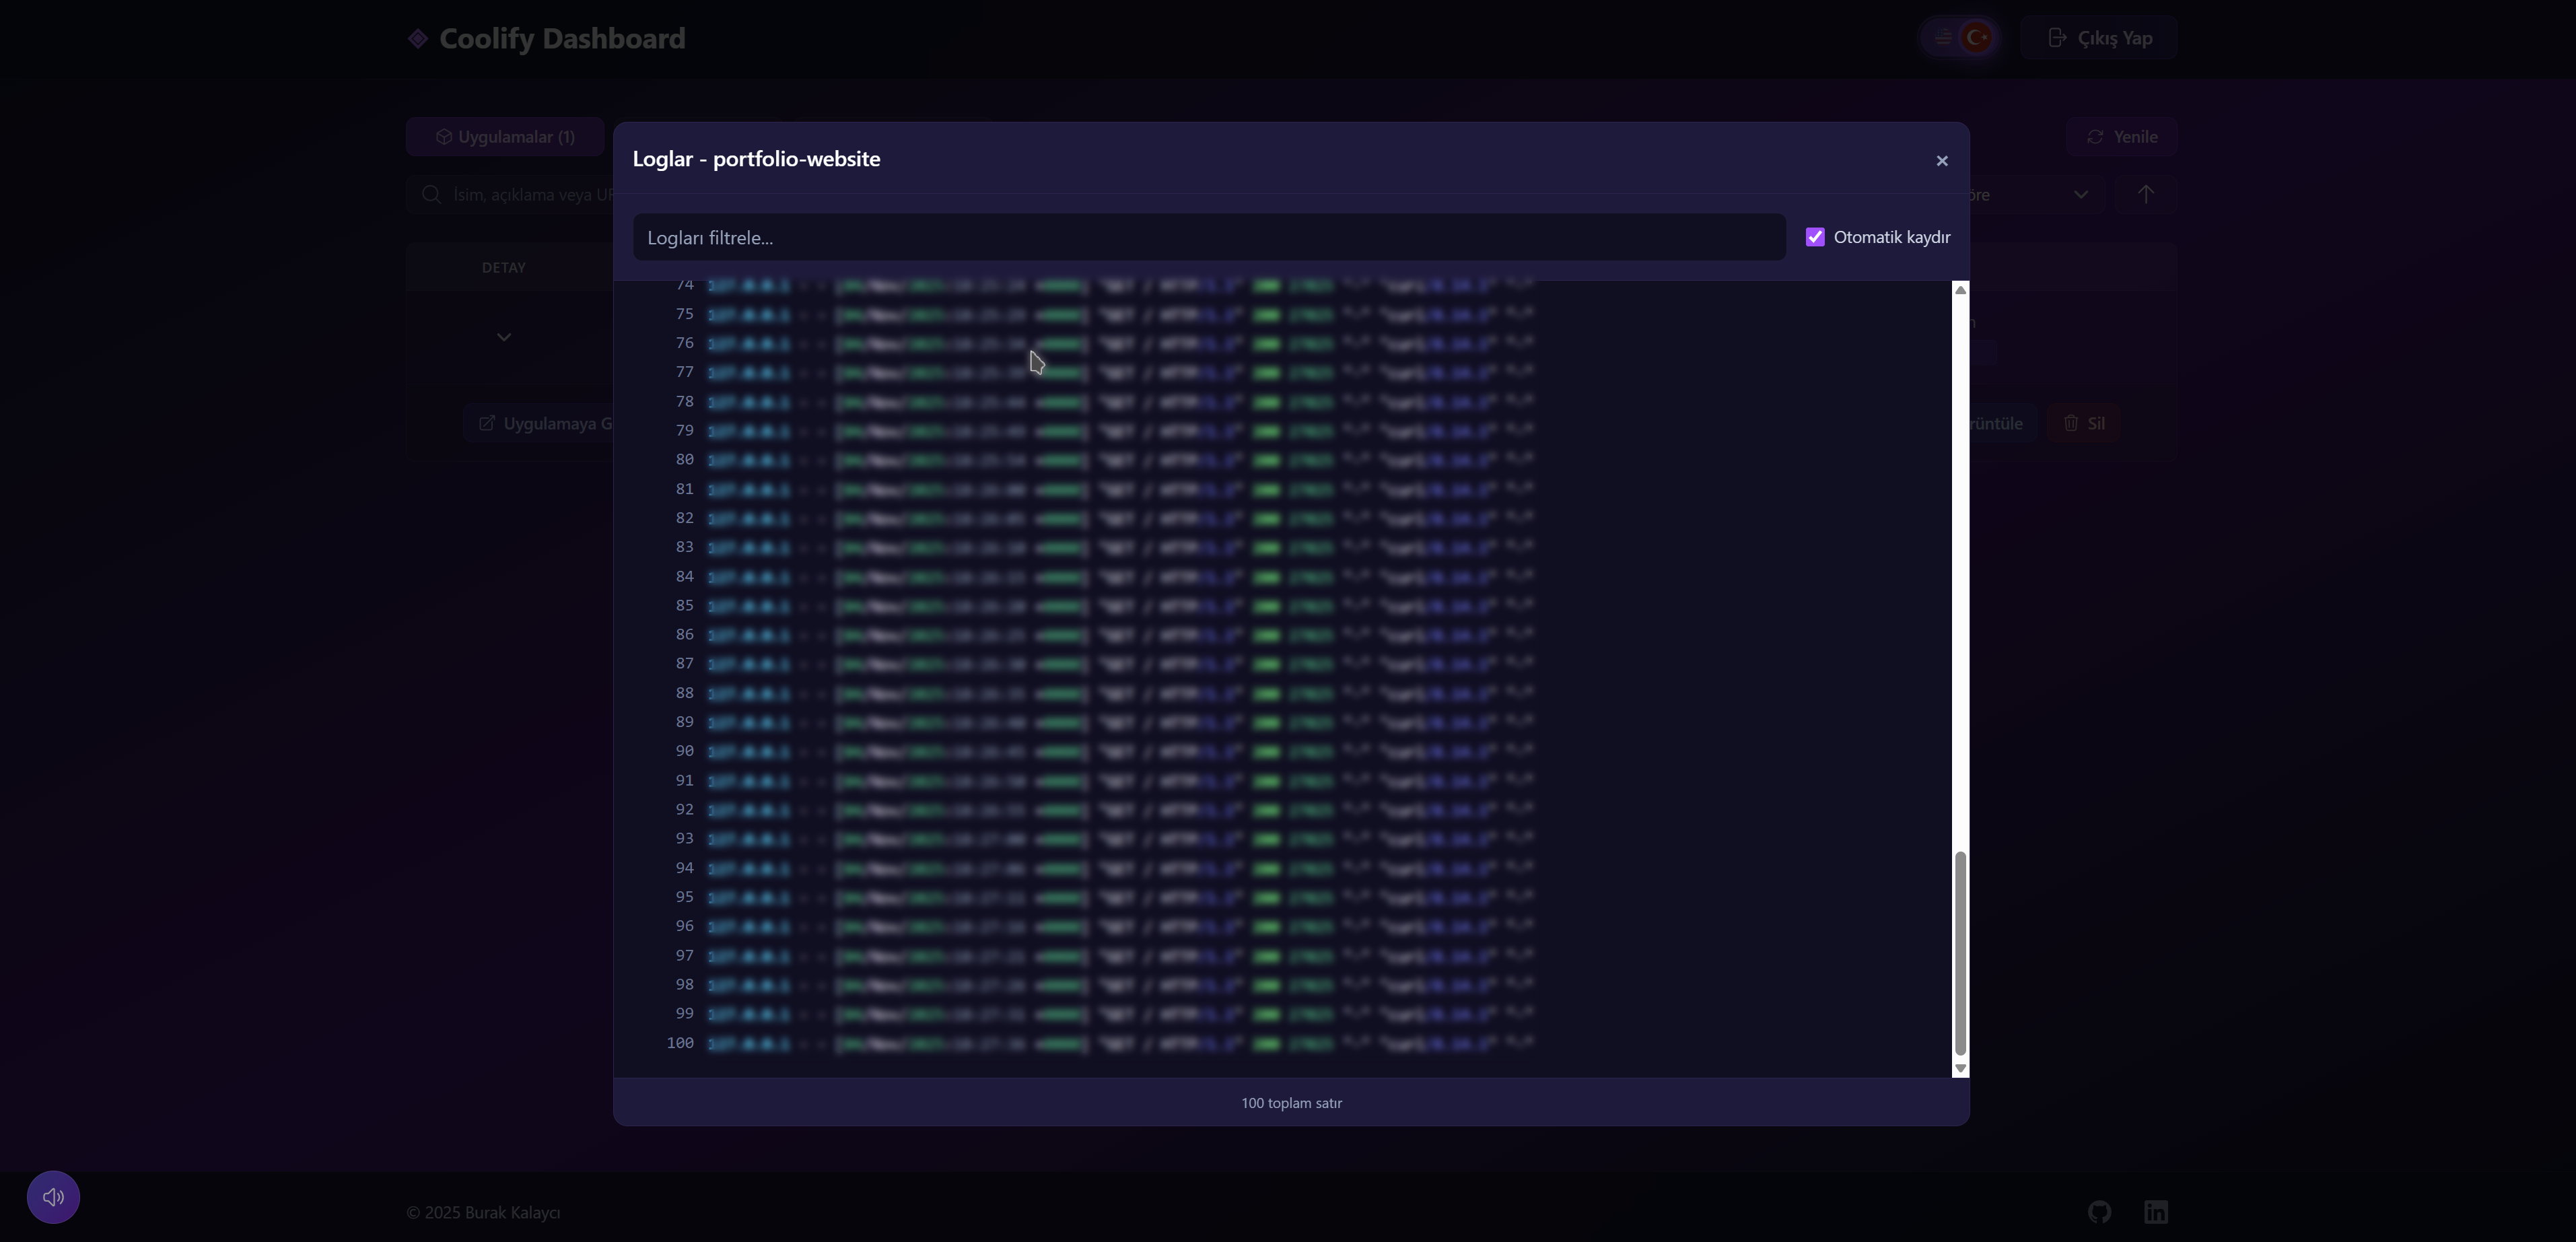
- View live service logs with real-time streaming
- Filter logs with keyword search
- Auto-scroll toggle for log viewing
- Real-time action loading states with elapsed time indicators
- Visual feedback with animated borders and icons
- Modern glassmorphism status banner with real-time elapsed time display
- Localized time format (shows "1d 30s" in Turkish, "1m 30s" in English)
- Intelligent State Management:
- Zustand Store: Lightweight, centralized state management
- Adaptive Polling: Smart polling intervals (5s → 30s) for resource efficiency
- Optimistic Updates: Instant UI feedback before API confirmation
- Silent Background Sync: Updates data without disrupting user experience
- Action-Specific Loading: Per-resource, per-action loading states
- Auto-Cleanup: Prevents memory leaks with proper interval cleanup
- Sound Effects System: Subtle audio feedback for button interactions with toggle control in bottom-right corner
- Multi-language Support: Seamless switching between English and Turkish
- Responsive Design: Modern UI optimized for desktop and mobile devices
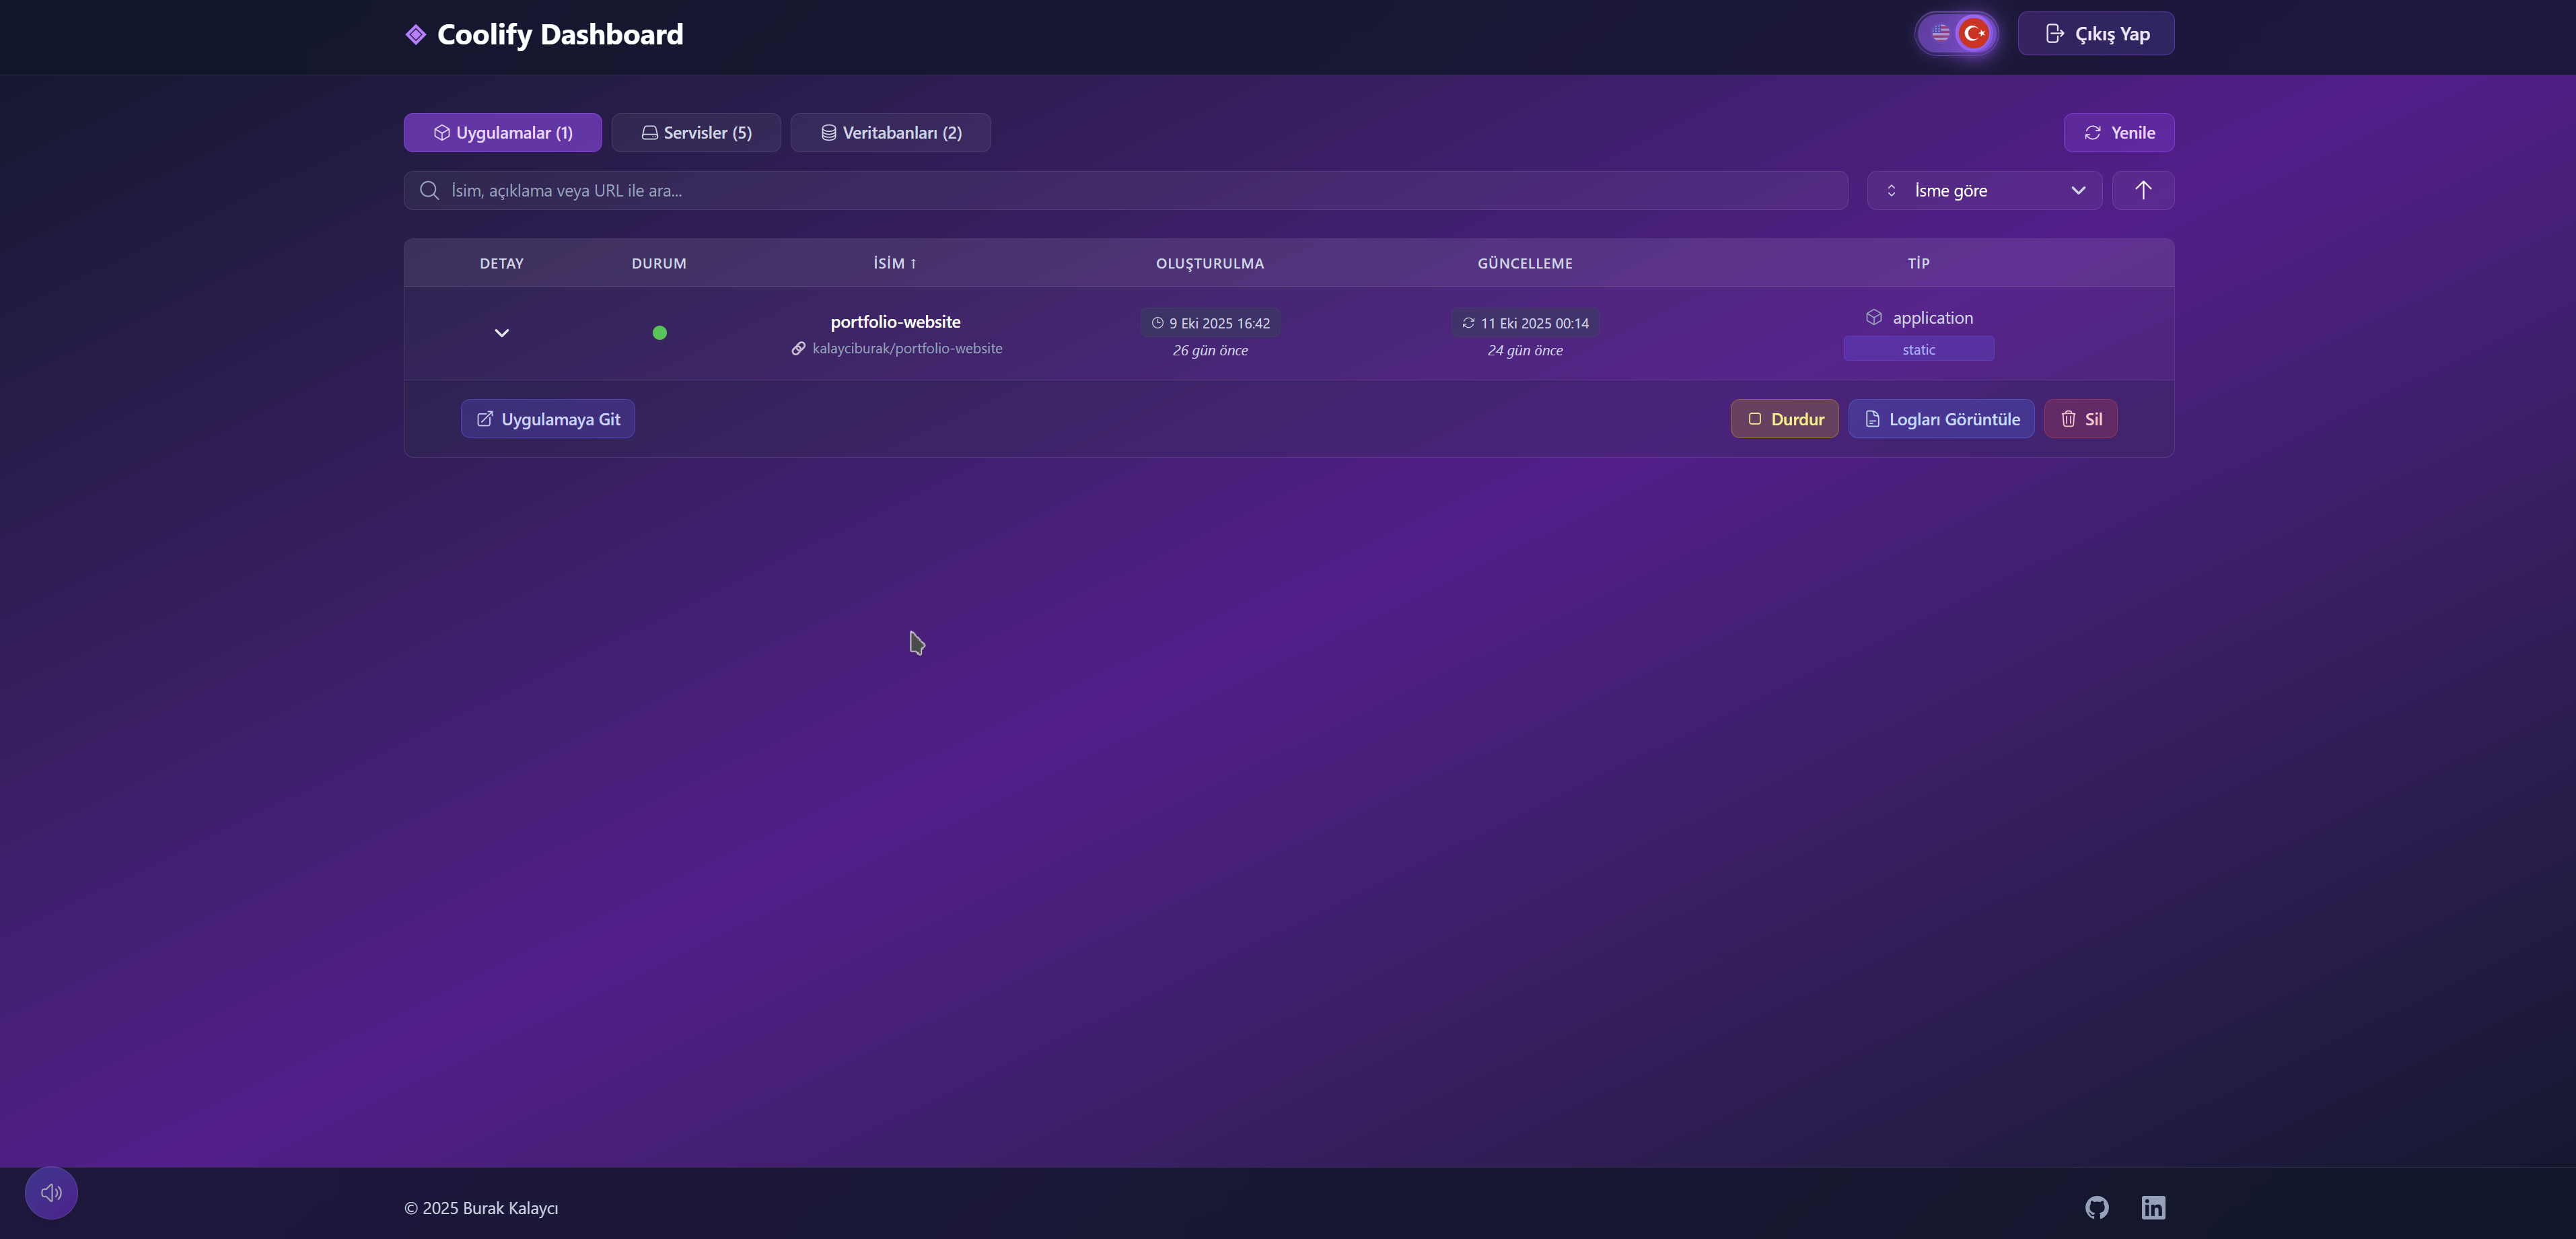
- Real-time Monitoring: Track resource status and health in real-time
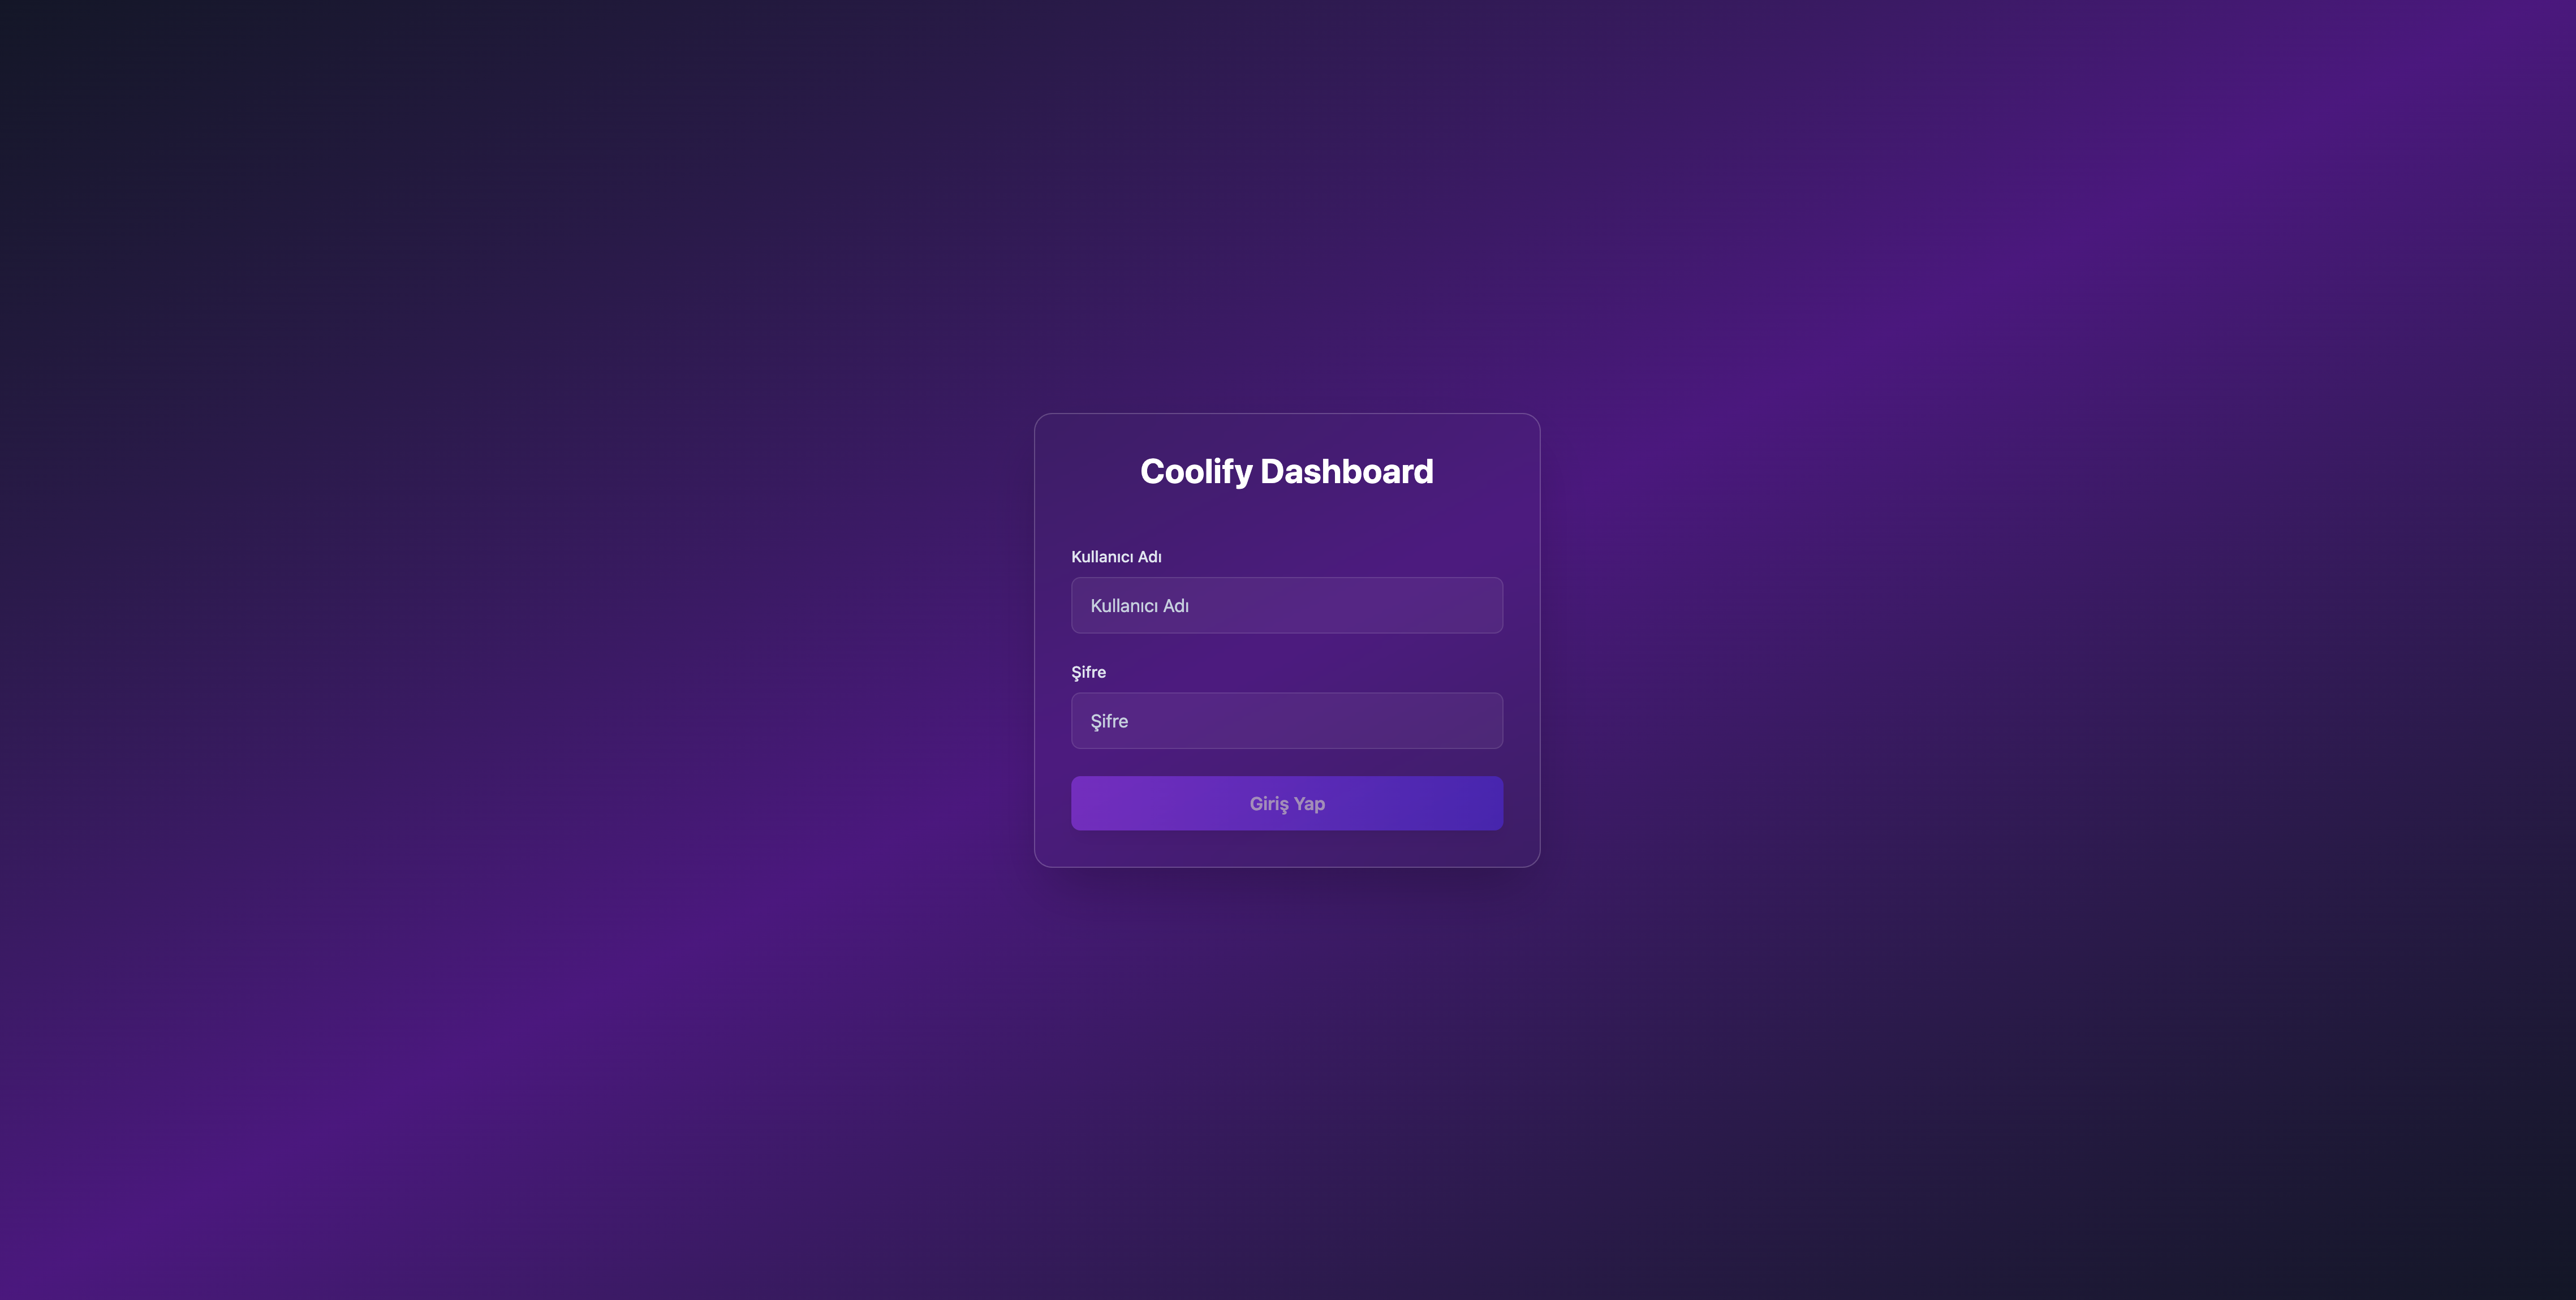
- Secure Authentication: JWT-based authentication with secure token management
- Resource Monitoring: Monitor applications, services, and databases
- Modern Tech Stack: Built with React 19, Zustand, Tailwind CSS 4, and Express.js
coolify-dashboard/
├── client/                 # React frontend application
│   ├── src/
│   │   ├── components/     # Reusable UI components
│   │   ├── pages/          # Page components
│   │   ├── store/          # Zustand state management
│   │   ├── api/            # API client services
│   │   ├── services/       # Business logic layer
│   │   ├── utils/          # Utility functions
│   │   └── i18n/           # Internationalization (EN/TR)
├── server/                 # Express backend application
│   ├── routes/             # API route definitions
│   ├── middleware/         # Custom middleware
│   ├── services/           # Backend services
│   └── utils/              # Backend utilities
└── Dockerfile              # Docker configuration
- Node.js 20.x or higher
- npm or yarn
- Git
# Clone the repository
git clone https://github.com/kalayciburak/coolify-dashboard.git

# Navigate to project directory
cd coolify-dashboard

# Install dependencies
npm install

# Create server/.env file with required variables
# See "Environment Variables" section below for all options

# Start development server (with 2FA disabled)
NODE_ENV=development npm run devFor easier local development, you can disable Two-Factor Authentication by setting NODE_ENV=development:
# Linux/macOS
NODE_ENV=development npm run dev

# Windows (PowerShell)
$env:NODE_ENV="development"; npm run dev

# Windows (CMD)
set NODE_ENV=development && npm run dev
Important Notes:
- 2FA is automatically disabled when
NODE_ENV=developmentis set - In production, never set
NODE_ENV=developmentas this bypasses 2FA security - Without
NODE_ENV=development, 2FA is always required (default production behavior) - You can also add
NODE_ENV=developmentto yourserver/.envfile for persistent dev mode
| Command | Description |
|---|---|
npm run dev |
Start both client and server in development mode |
npm run build |
Build frontend for production |
npm run start |
Start production server |
npm run lint |
Run ESLint code quality checks |
npm run format |
Format code using Prettier |
Contributions are welcome! Please follow these guidelines:
- Fork the repository
- Create a feature branch:
git checkout -b feature/your-feature-name - Commit your changes:
git commit -m 'Add new feature' - Push to the branch:
git push origin feature/your-feature-name - Open a Pull Request
- Follow the existing code style and conventions
- Write clear and descriptive commit messages
- Add tests for new features
- Update documentation when necessary
- Ensure all tests pass before submitting PR
This project is licensed under the MIT License. See the LICENSE file for details.
For bug reports, feature requests, or questions, please open an issue on GitHub.