Extending ReadableUI
In this guide, I will explain how to extend the ReadableUI (the thing that displays magazines).
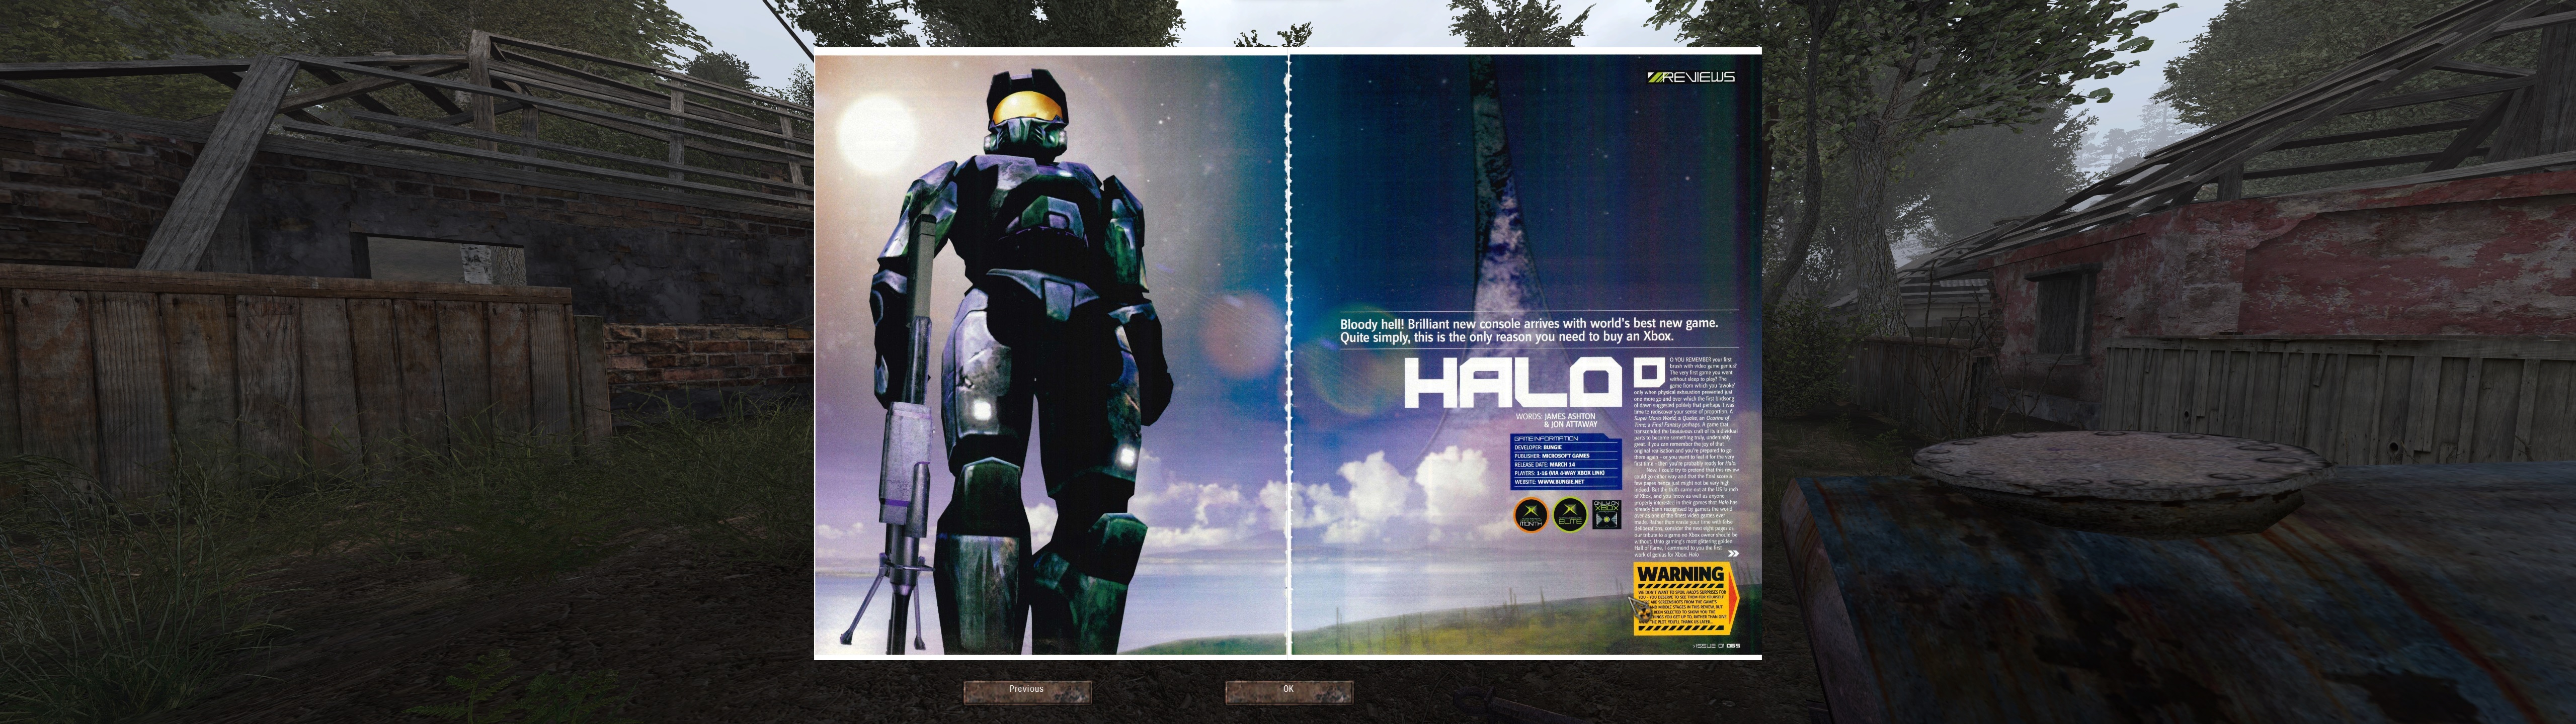
You can find a complete archive with the result of what is explained in this guide here.
In total, you will need to create :
- A texture, in
gamedata/textures/ui/readables/<some_name>/...; - A texture description, in
gamedata/configs/ui/textures_descr/...; - A new item/edit an existing item, in
gamedata/configs/items/items/....
First step : we prepare a texture. For this purpose, you can use whatever software you want. If you don't know what to use, you can use Paint.NET.
A few rules are in order :
- Your texture must have a ratio of
2:1. That means that it must be exactly twice as wide as it is tall; - Your texture should ideally have a resolution that is a power of two (
512,1024,2048,4096, etc) in order to display correctly on Dx8/Dx9; - Your texture should have a transparent background.
The following isn't required, but can be good to ensure consistency :
- Your texture should be named
page_<number>.dds, with<number>being the number of the page;- If your thing has only one page, then it should be named
page.dds;
- If your thing has only one page, then it should be named
- Your texture should be located in
gamedata/textures/ui/readables/<section_name>/page.dds, with<section_name>the name of the item.
For example, you could have a texture, 4096x2048 in resolution, located at gamedata/textures/ui/readables/rick/page_1.dds.
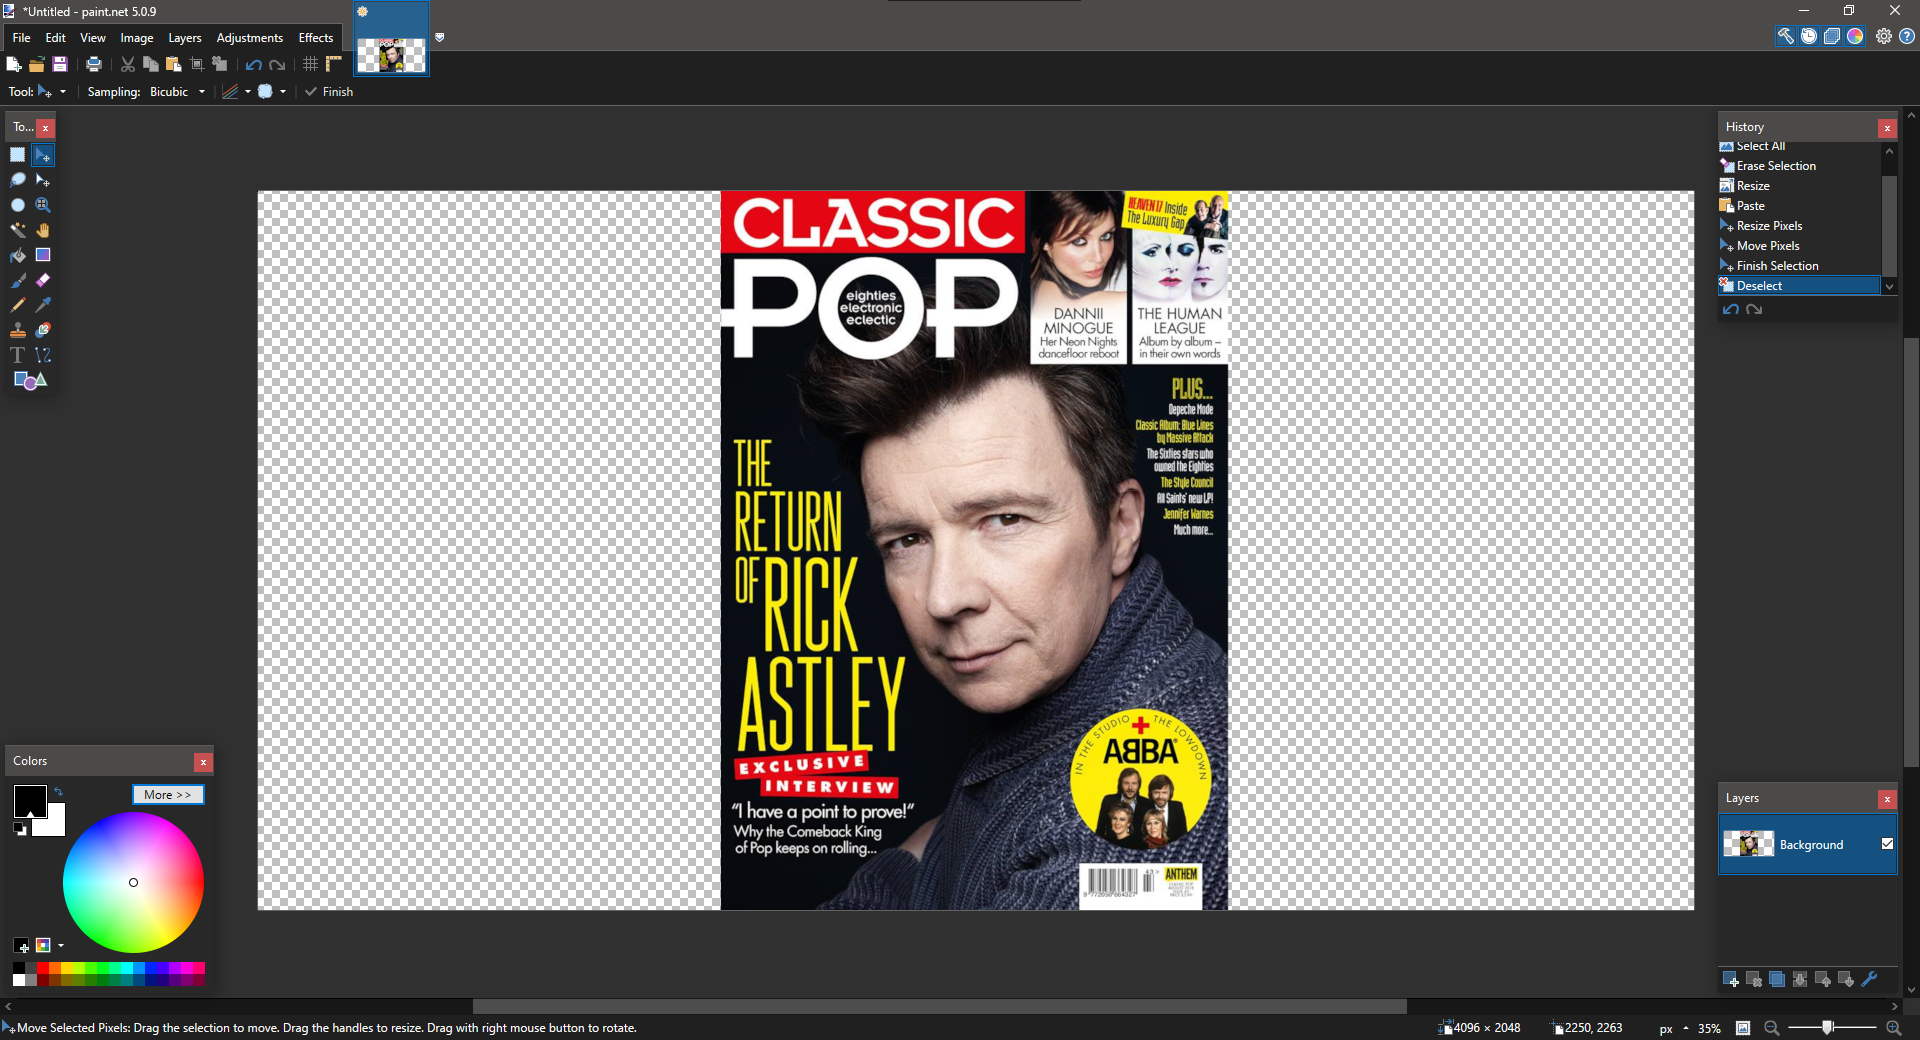
Once your texture is ready, you can export it. For this, simply select File > Save As, then change the file type to Direct Draw Surface (DDS) :

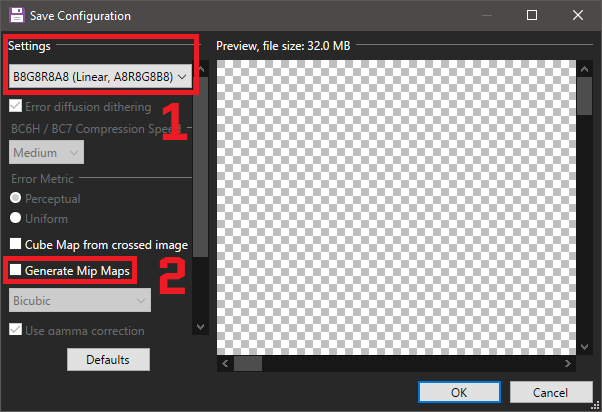
After this, select Save, and another window should open :
- Select
B8G8R8A8 (Linear, A8R8G8B8)as the compression method; - Make sure
Generate Mip Mapsis off.
Once this is done, you need to create a texture description. This is a file that tells the game how to use your texture.
Create a new file called ui_<something_unique>.xml inside of gamedata/configs/ui/textures_descr/. Inside this file, place the following code.
File : gamedata/configs/ui/textures_descr/ui_rick_magazine.xml
<w>
    <!-- Rick Magazine -->
    <file name="ui\readables\rick\page_1.dds">
        <texture id="ui_rick_page_1"               x="0"    y="0"    width="4096"    height="2048"/>
    </file>
</w>
In this file, a few things should be noted :
- For the
filenode, thenameattribute is a relative path to your texture from thegamedata/textures/folder; - For the
texturenode :- The
idattribute's value should followui_<section>_page_<page_number>, where :-
<section>: The name of the readable item's section, as defined in system.ltx; -
<page_number>: The page number associated with the current texture description;- If you are adding multiple pages, the page numbers must be contiguous from
1ton, wherenis the total number of pages;
- If you are adding multiple pages, the page numbers must be contiguous from
-
- The
widthattribute's value should be whatever you set your texture width to be; - The
heightattribute's value should be whatever you set your texture height to be.
- The
If you got through all this, the hard part is done, and you're almost there.
The last step is to make an item readable. Because we live in a world together, I will only be describing how to do this using DLTX. If you don't want to use DLTX, figure it out yourself.
If you want a custom inventory icon for your item, you can follow this guide.
If you want to make an existing item readable, create a file called mod_system_<something_unique>.ltx (replace <something_unique>), and place the following code inside.
File : gamedata/configs/mod_system_rick.ltx
![replaceme]
wg_readable                                      = true
use1_functor                                     = western_goods_ui_readable.menu_view
use1_action_functor                              = western_goods_ui_readable.use_item
use1_allow_db                                    = true
In the previous code extract, you must replace replaceme with the name of the section of the item you want to make readable.
If you want to add an entirely new item, create a new file in gamedata/configs/items/items/, and name it items_<something_unique>.ltx (replace <something_unique>), and place the following code inside your file.
Note : this can also be placed in a file gamedata/configs/mod_system_<something_unique>.ltx, with no added benefit. This will make DLTX required.
File : gamedata/configs/items/items/items_rick.ltx
[rick]:porn2
inv_name                                         = st_rick
inv_name_short                                   = st_rick_s
description                                      = st_rick_descr
wg_readable                                      = true
use1_functor                                     = western_goods_ui_readable.menu_view
use1_action_functor                              = western_goods_ui_readable.use_item
use1_allow_db                                    = true
You can add a new file inside of gamedata/configs/text/eng/ (name does not matter), to add new translation strings.
File : gamedata/configs/text/eng/st_rick_mag.ltx
<?xml version="1.0" encoding="windows-1251"?>
<string_table>

	<string id="st_rick">
		<text>Rick Magazine</text>
	</string>

	<string id="st_rick_s">
		<text>Rick Magazine</text>
	</string>

	<string id="st_rick_descr">
		<text>
			A magazine showcasing Rick Asley.\n
			\n
			%c[ui_gray_1]PROPERTIES:\n
			%c[d_blue] • %c[ui_gray_2] everyday item\n
			%c[d_blue] • %c[ui_gray_2] imported\n
		</text>
	</string>

</string_table>
And that is it. Your item should now be readable with the texture you created.