Niklas Raesalmi
My project is a camera app allows users to take photos with integrated camera features and stores them in a gallery with timestamps, user names, and profile photos.
- Capture photos using the front or back camera.
- Save photos with timestamps and link them with user profiles (name and profile picture).
- Switch between front and back cameras.
- View photos in a gallery that are accessible in a bottom drawer.
- Android Jetpack Components: For app architecture.
- Compose UI Toolkit: For building the UI layout.
- CameraX API: For handling camera functionalities.
- Coil Library: For asynchronous image loading.
- Bitmaps and File Operations: For storing and processing images.
- URIs: For resource identification and management.
- Timestamp Implementation: I initially struggled to add timestamps due to layout constraints, but I made it work using a workaround to integrate it into the gallery.
- Profile Photo Refresh Issue: Profile photo changes still require a relaunch of the app to change.
- Improve functionality by making the app into a diary where users can attach notes to photos.
- Improve gallery readability for larger collections of photos.
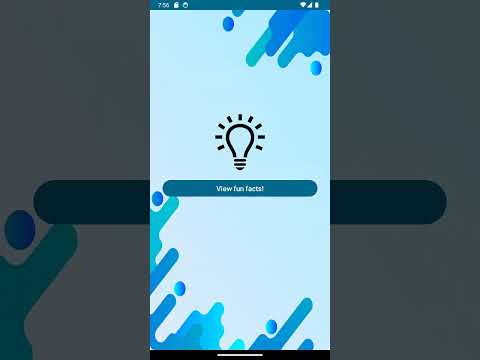
I first got the notification channel 1 to show up in the permissions tab by creating a notification channel and I created its contents using the NotificationCompat.Builder(). I made the notifications pop up with intervals of 10 seconds and made it interactable by adding .setContentIntent() to the notification builder. I decided to use the temperature sensor by first giving it permissions and creating fun TemperatureDependentLight() which uses a sensorManager to get the data and a listener to look for changes in it. Then I made two versions of a light bulb png, one that is on and one that is off and made them switch depending on whether the temperature is below or above 0 degrees celsius.
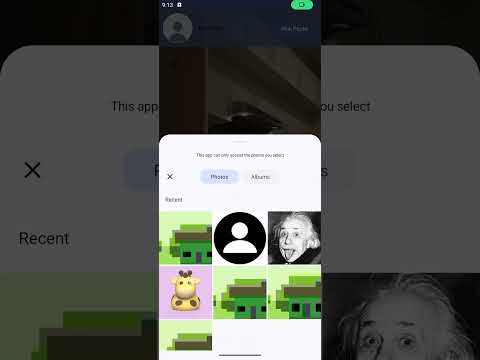
I first got picking an image working by using the pickMedia photo picker and following the tutorial form from https://developer.android.com/training/data-storage/shared/photopicker. For text input i used TextField(). Storing the information so that the data can be found by the app even after a restart comes from the app first creating a new instance of UserViewModel and saving the username and profilePhotoUri and changes to the data are made using saveUserData. The data is then saved using sharedPreferences and the destination of the information is set to context.filesDir
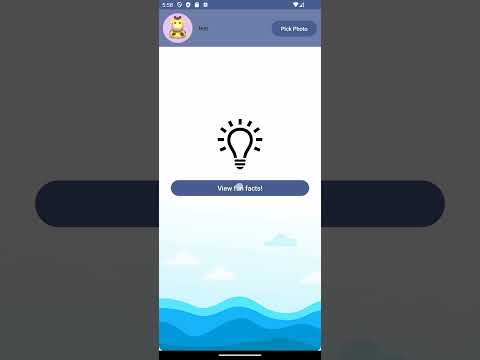
The most important part for implementing navigation is setting up a NavHost that keeps track of the page that you're currently on and where each button leads to.
I got the navigation working by first setting both pages into the NavHost and then for the buttons I used navController.navigate() and put the page that the button should lead to into the parenthesis. To prevent circular navigation, instead of the back button on the message page leading back to the main screen I instead used navController.popBackStack() to go back one page.
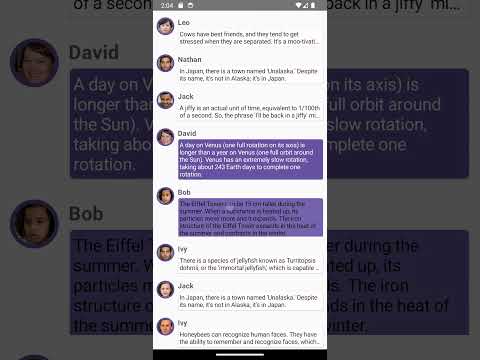
Following the Jetpack Compose Tutorial went relatively straightforwardly and without any bigger hiccups. I only encountered problems with the dark mode not working at the start. I first followed the tutorial line-by-line to learn the basics and after that I added my own twist to it by tweaking the values and adding other modifiers to the author, body and the structure of them. I then added multiple different possible choices for the profile photo, title and text and used randomization to pick them for each entry.
I added images by drag-and-dropping them into the Resource Manager's Drawable section and edited their size and shape using the foundation.layout, foundation.border and ui.draw.clip imports. I modified the size and spacing of the text, made the titles bolded and changed the title's colors. By using foundation.lazy.LazyColumn, I added multiple text entries and made the app scrollable. By using imports from runtime and foundation.clickable and by using a boolean variable and if statements to check its state, I made the entries interactable.