
Your terminal. Any browser. Any device.
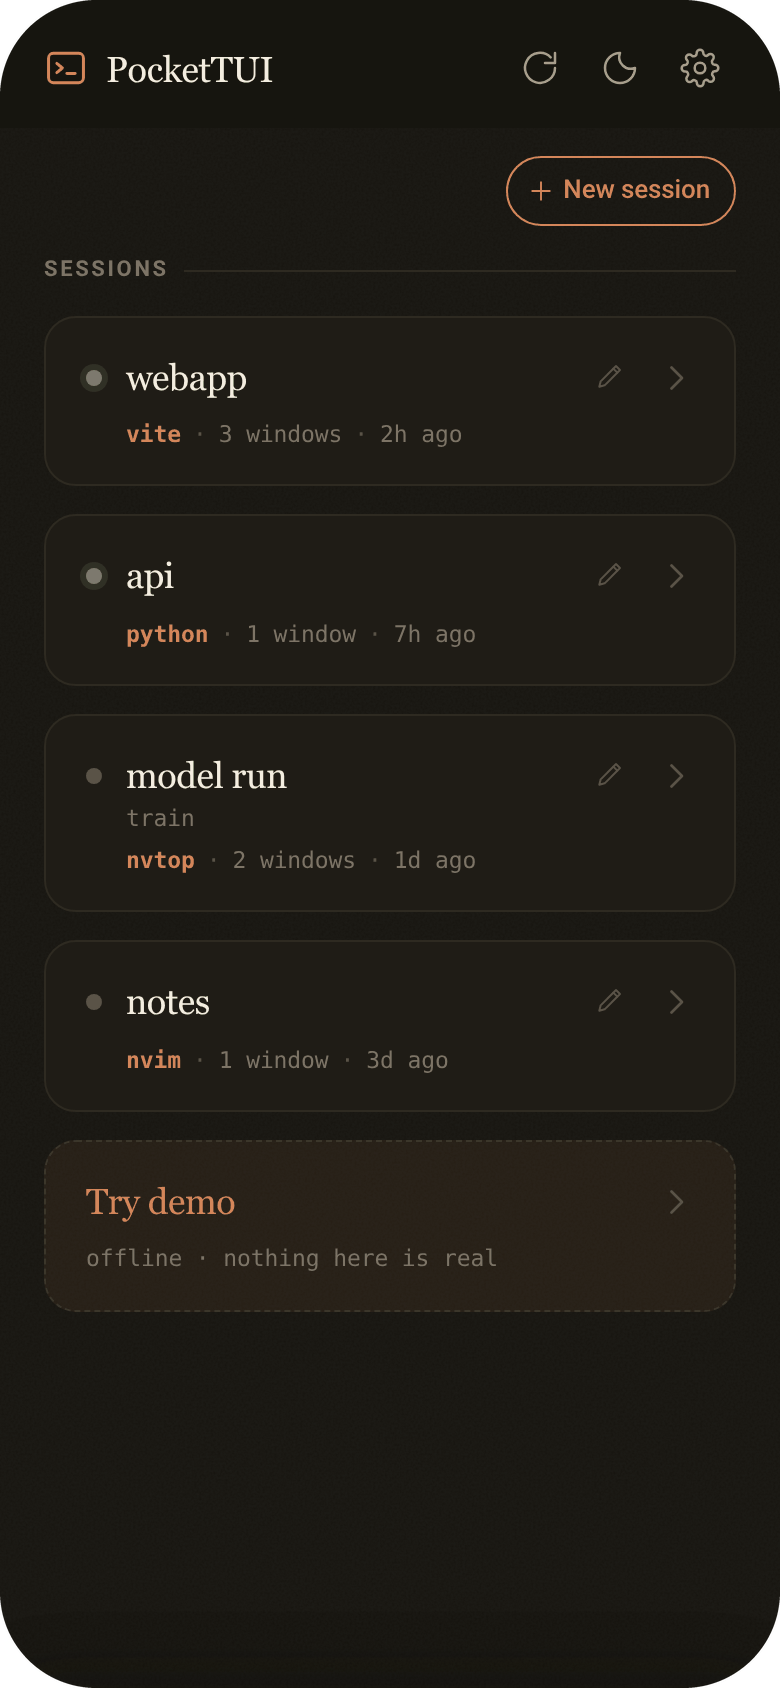
Your actual running terminal, wherever you are. Connect your machine once, and from then on it's just there — open a browser on any device to check on jobs, keep Claude or Codex going, or start something new.
pockettui.com · Open the app · Live demo






- Your sessions follow you. Open the same running tmux session from your phone, laptop, or another device. Switch between them whenever you want, or keep multiple devices connected at once.
- Independent views on every device. Each connected device gets its own screen size without resizing or detaching the session on your other devices.
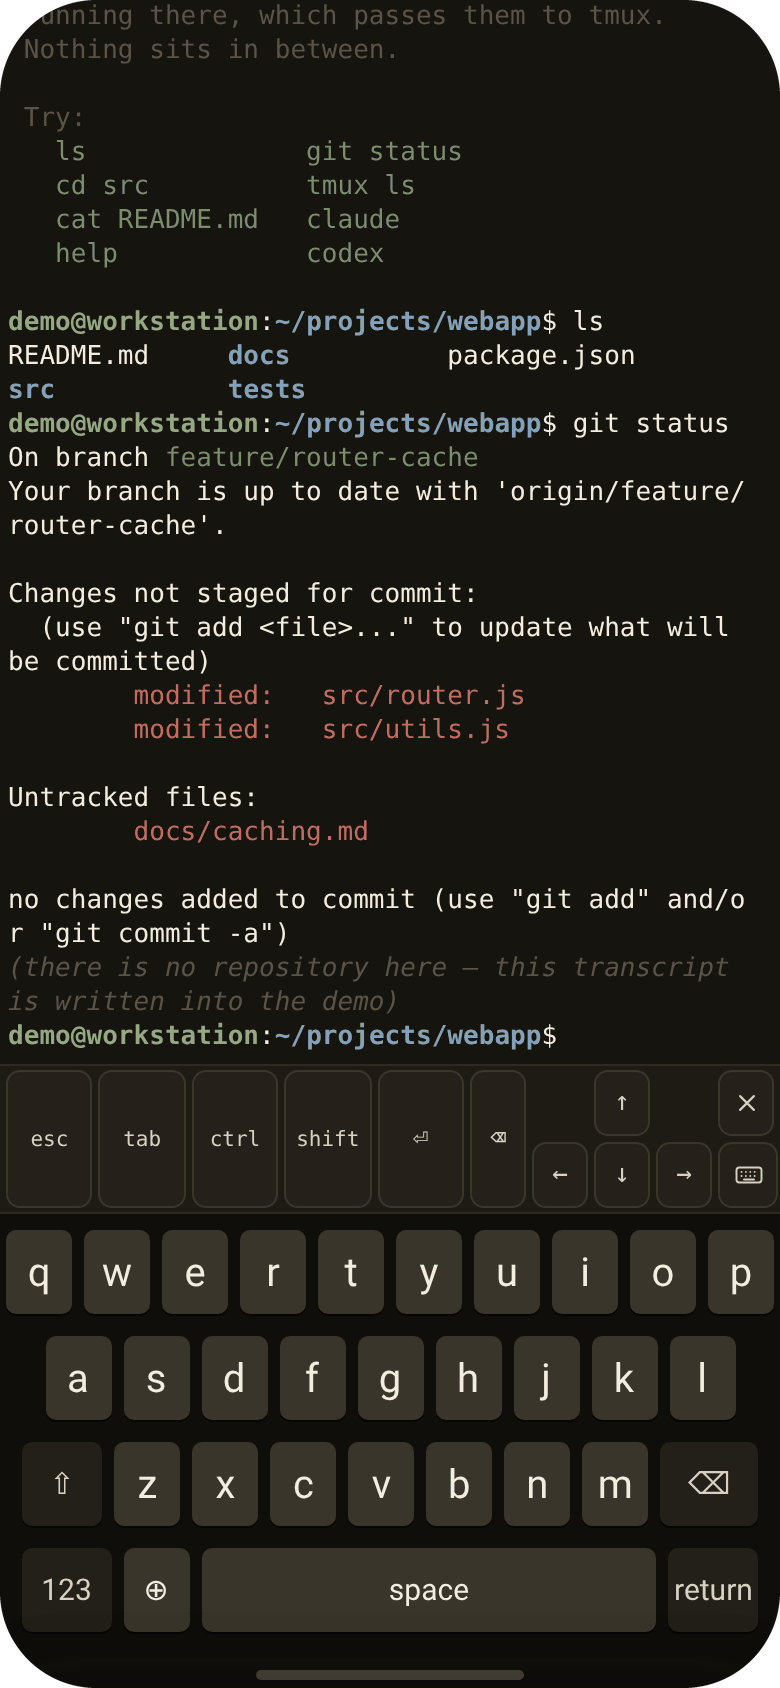
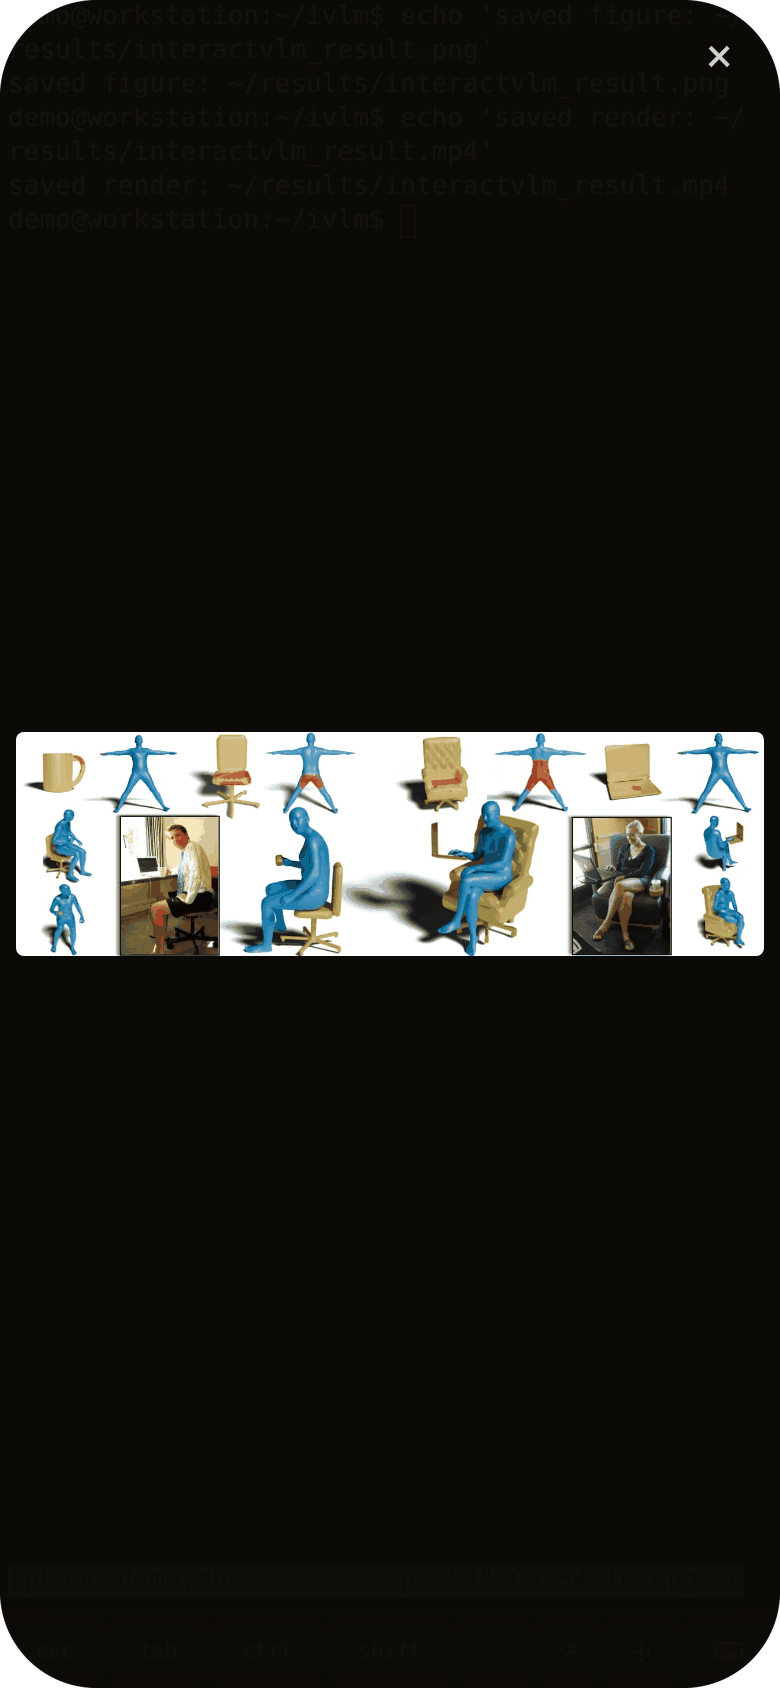
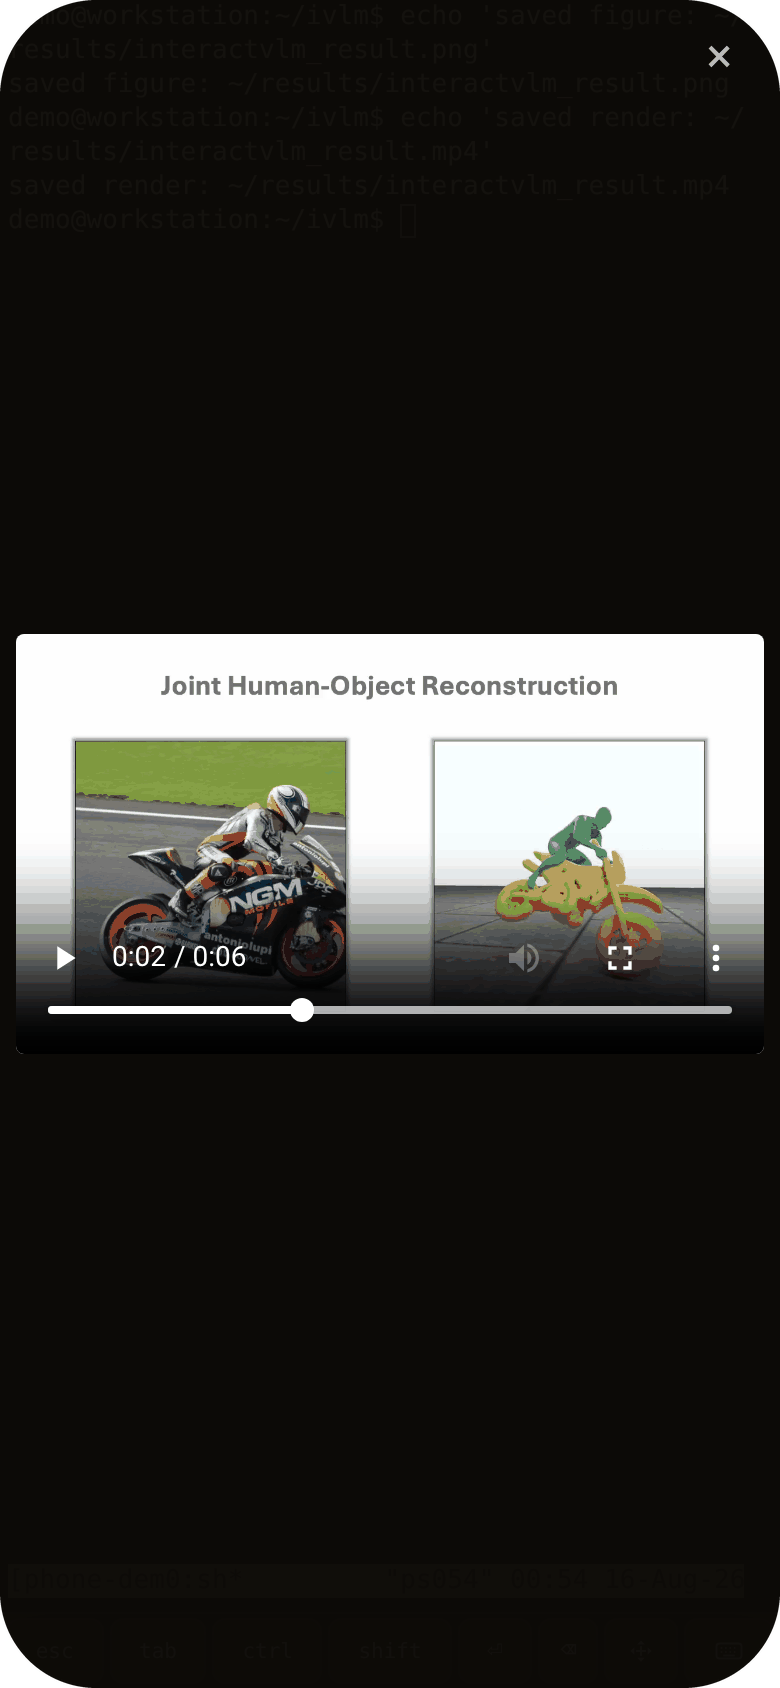
- Built for phone. A full terminal (xterm.js) with a touch-first key bar — Esc, Ctrl, Tab, arrows — and tap-to-open for image and video paths printed in the terminal.
- Direct connection. The hosted page is a static shell; your machine's address lives only in your phone's local storage. Terminal traffic does not pass through PocketTUI servers.
Three steps, once.
1. On your computer — run the installer on the machine where your tmux sessions already live:
curl -fsSL https://pockettui.com/install.sh | bashIt fetches the source, builds a venv from requirements.txt, and offers to keep the backend running in the background — a systemd user service on Linux, a launchd agent on macOS. Requires Python ≥ 3.10 and tmux — and if either is missing it provisions them into the install's own environment (via uv or micromamba), without sudo and without touching system packages.
From a clone, if you'd rather see the source first — the installer uses the files next to it instead of downloading anything:
git clone https://github.com/saidwivedi/PocketTUI.git
cd PocketTUI && ./install.sh
Or skip the installer entirely: ./run.sh creates a .venv on first run and starts the server.
2. On your phone — open pockettui.com/app and add it to your home screen (iPhone: Share → Add to Home Screen; Android: Menu → Add to Home screen).
3. Connect — enter your machine's address and the pairing code the installer printed. Any address your phone can reach works; a Tailscale hostname is the easiest way to reach a machine behind NAT. The pairing code is what authenticates the connection — the backend will not start without one. PocketTUI remembers both; tap a session to attach.
Not natively (the backend wraps tmux and Unix PTYs), but it works in WSL2: run the same installer inside WSL and reach it via Tailscale or WSL's mirrored networking mode.
phone (PWA, xterm.js) ⇄ websocket ⇄ app.py (FastAPI, on your machine) ⇄ tmux
The web app at pockettui.com/app is a static shell — it asks for your machine's address on first run and stores it locally. The server (app.py) lists your tmux sessions, attaches through a PTY, and serves tapped image/video files. That's the whole system: one Python file, one HTML file, and tmux doing what tmux does.
Useful environment variables: PORT (default 5560), POCKETTUI_DIR (install dir), POCKETTUI_PATH_REWRITES (src:dst[,src:dst] prefix rewrites for remote-mounted storage whose local mount point differs).
You don't have to use the hosted page: build_mobile.py builds the phone app into a single HTML file you can serve from anywhere (--backend URL bakes your address in).
MIT — free and open source. No account, no cloud.