Create and join live battles, Choose your Battleground, and Battle other players in real-time!
Avalanche is an open, programmable smart contracts platform for decentralized applications. It allows you to build fast, low-cost, Solidity-compatible dApps, and launch customized blockchain networks via Subnets. Create without limits - Build anything you want, any way you want.
Avalanche has the tooling and composability you need to speed from concept to launch. Learn more about building on Avalanche with the below developer resources:
📙Developer Documentation - https://docs.avax.network/
📙Avalanche-Cli - https://github.com/ava-labs/avalanche-cli
📙Avalanche Network Runner - https://github.com/ava-labs/avalanche-network-runner
📙AvalancheJS - https://github.com/ava-labs/avalanchejs
📙Postman Collection - https://github.com/ava-labs/avalanche-postman-collection
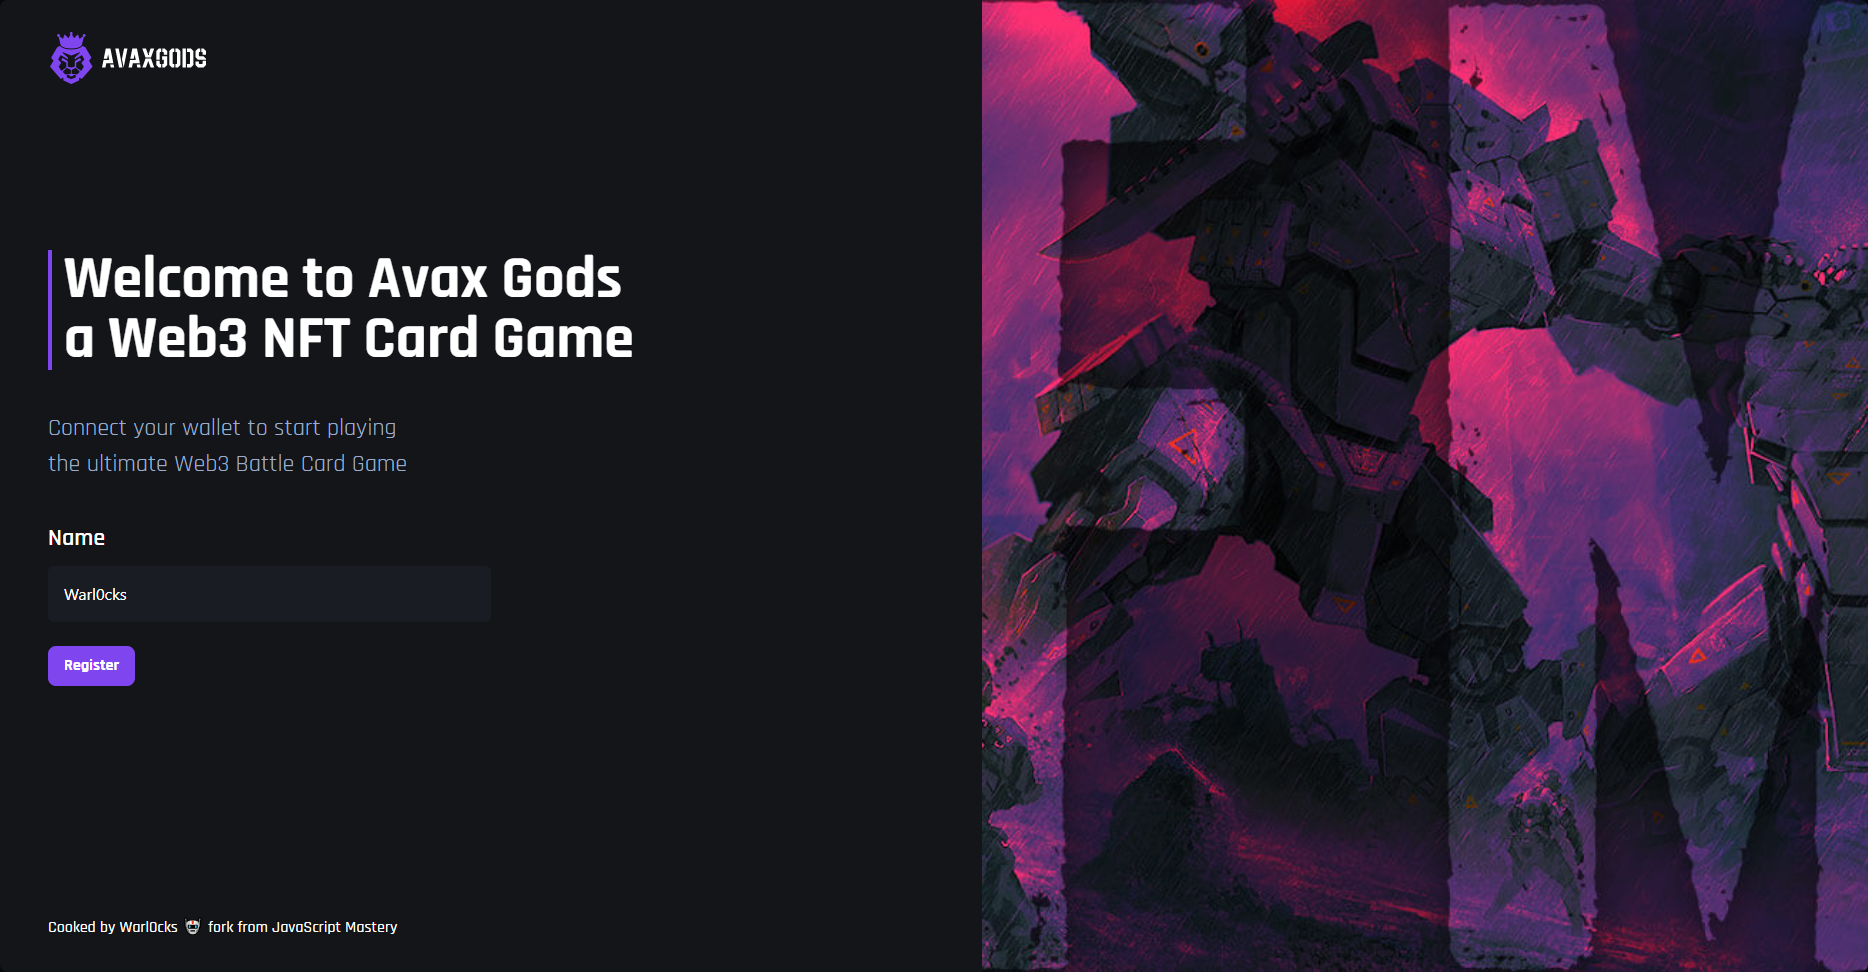
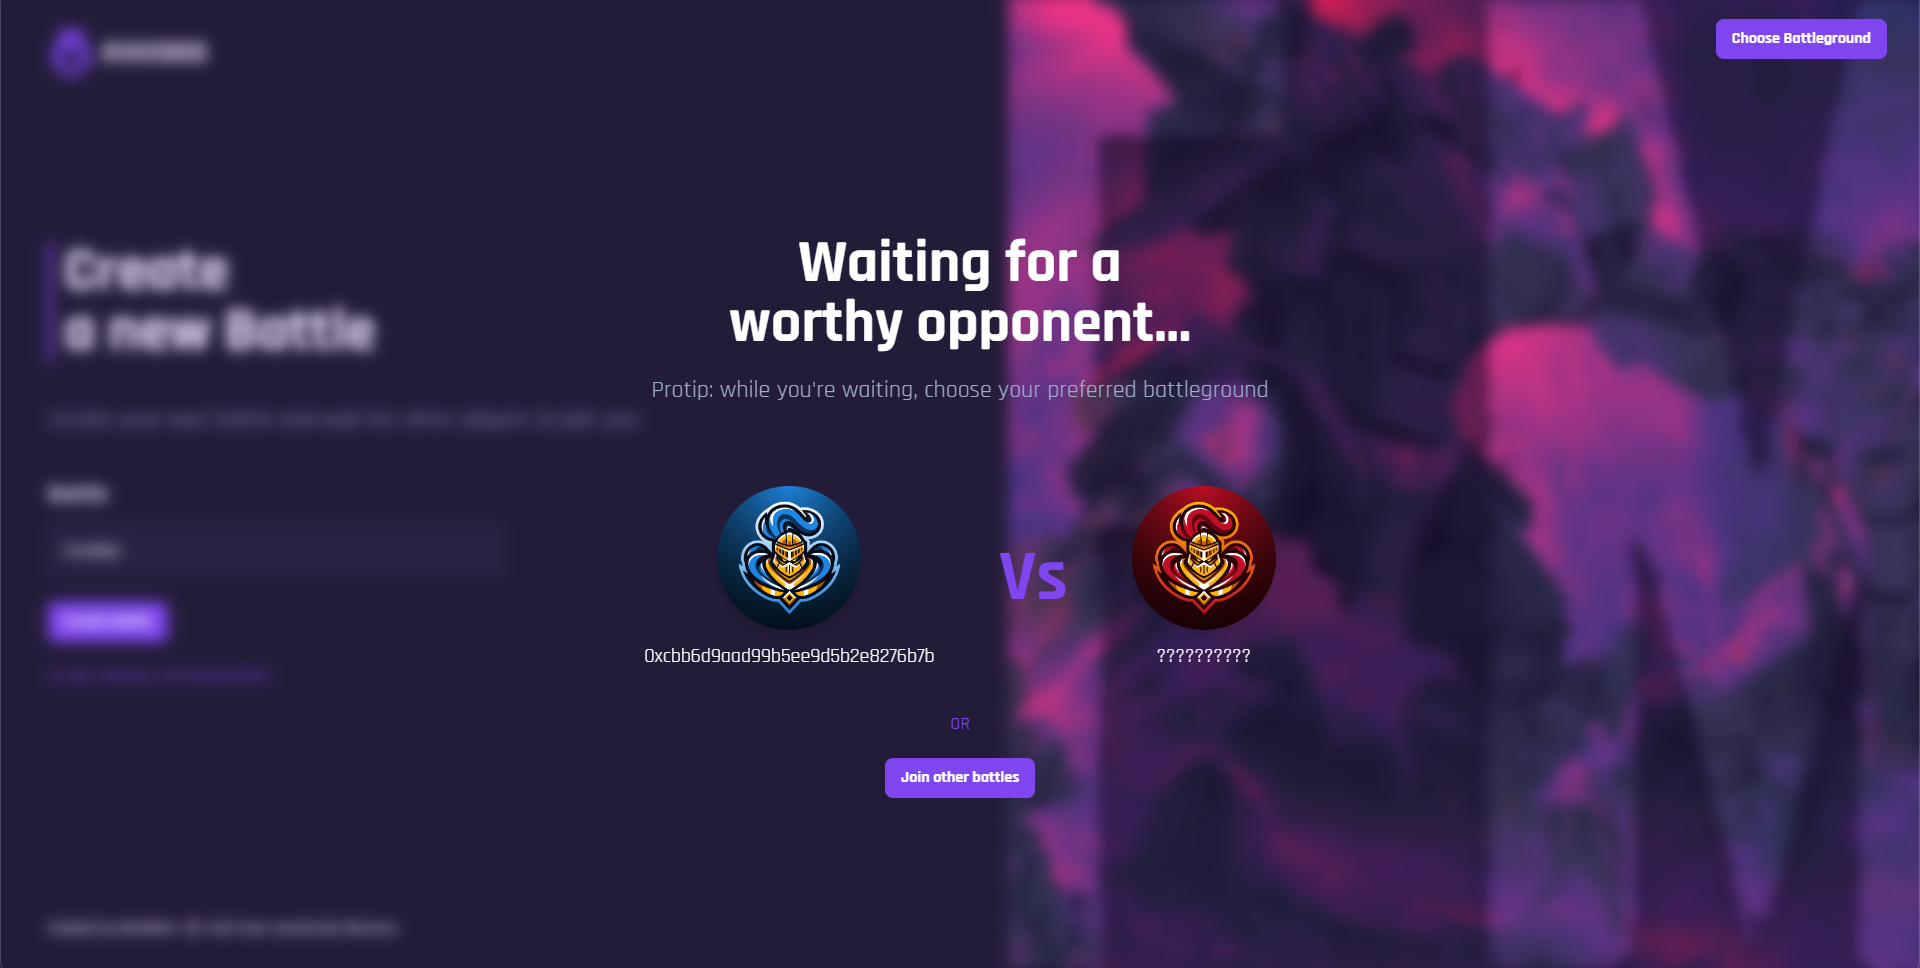
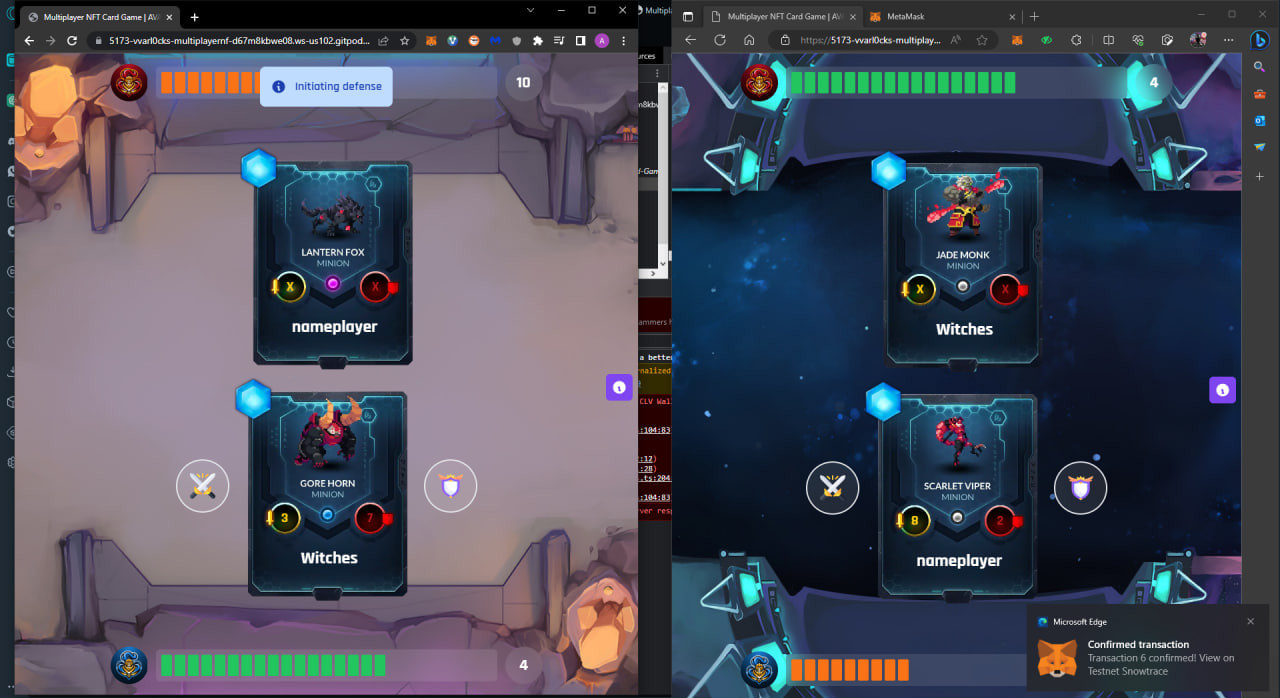
Demo URL: https://warl0cks-multiplayer-nftcardgame.netlify.app
Network: Avalanche Fuji Testnet
Tutorial from JS Mastery Pro.
cd backend-web3npx hardhat-> y → typescript → enter → enternpm install @openzeppelin/contracts dotenv @nomiclabs/hardhat-ethers+ Hardhat packagesnpm install --save-dev "hardhat@^2.12.0" "@nomicfoundation/hardhat-toolbox@^2.0.0"- Install Core, a Metamask smart wallet alternative built for Avalanche dApps
- Turn on the testnet mode by: opening up the Core extension -> click the hamburger menu on the top left -> go to advanced -> turn on the testnet mode
- Fund your wallet from the Avax Faucet
- Create a
.envfile and specify a PRIVATE_KEY variable. - To get to the private key, do the following steps:
- Open up the Core extension -> click the hamburger menu on the top left -> go to security and privacy -> click show recovery phase -> enter your password -> copy the phrase -> go to wallet.avax.network -> click access wallet -> choose mnemonic key phrase -> paste what the words we’ve copied from Core -> on the sidebar click manage keys -> view c-chain private key -> copy -> paste it in the .env file
- Setup
hardhat.config.tsfile from the GitHub gist down in the description - Setup
deploy.tsscript from the GitHub gist down in the description - Copy the
AvaxGods.solsmart contract code from above - Compile the contract by running the
npx hardhat compilecommand - Deploy the smart contract on the Fuji test network by running the
npx hardhat run scripts/deploy.ts --network fujicommand Move the/artifacts/contracts/AVAXGods.jsonfile to the/contractfolder on the frontend Copy the address of the deployed contract from the terminal and paste it into the/contract/index.jsfile of the frontend application
gitpod /workspace/Multiplayer-NFT-Card-Game/backend-web3 (main) $ npx hardhat run scripts/deploy.ts --network fuji
Deploying a smart contract...
{ AVAXGods: '0x7183Da1076b96c428D471F165BF5eC7b3312434f' }